


How to Use a Projector: A Beginner's Guide to Your First Setup
It can be incredibly intimidating to unbox your first projector. Unlike a traditional television where you simply plug it in and turn it on, setting up a projector can feel like assembling a puzzle. You are suddenly dealing with throw distances, audio routing, ambient light, and figuring out how to actually get your favorite shows onto the screen.
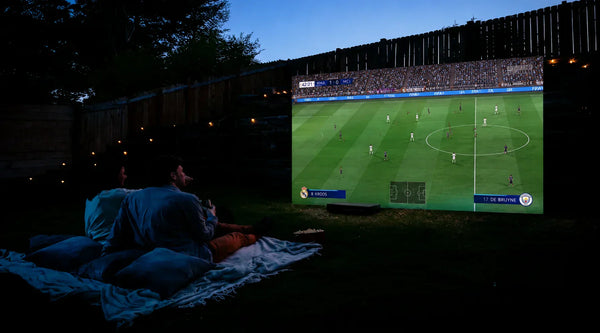
If you are feeling overwhelmed, you are not alone. The goal is to get a massive, immersive picture without creating a tangled mess of cables in your living room. Let’s break down the process into a clear, step-by-step walkthrough, taking you from unboxing your new device to pressing play with confidence.
Step 1: Finding the Perfect Placement and Alignment

The physical placement of your projector dictates the success of your entire home theater system. Getting this right prevents headaches later on.
Understanding Throw Distance (Where to Put It)
Every projector has a specific "throw ratio," which determines how far away it needs to sit from the screen to create a certain image size.
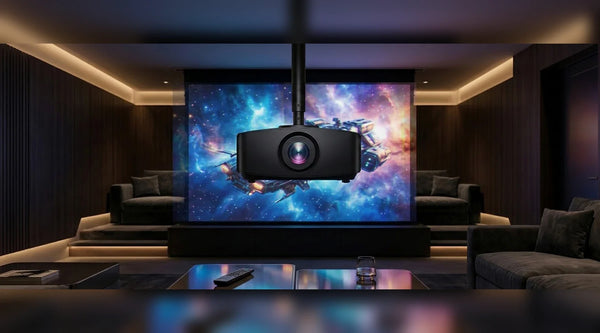
- Standard/Long Throw Projectors: These traditionally need to be mounted on the ceiling or placed on a shelf at the back of the room, often 10 to 15 feet away from the wall.
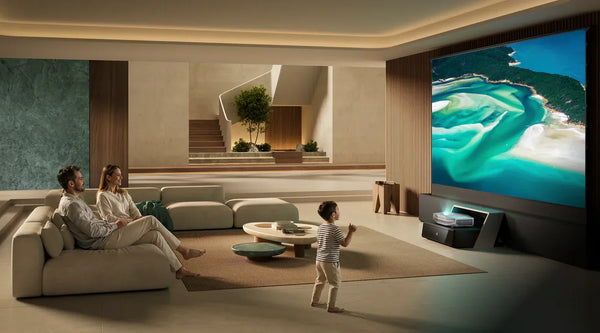
- Ultra Short Throw (UST) Projectors: These sit on a media console just a few inches away from the wall and cast the image sharply upward.
If you aren't sure which category your device falls into, you can check our breakdown of short throw, long throw, and UST projectors to find the ideal placement.
Squaring the Image: Zoom, Focus, and Keystone Correction
Once your projector is turned on, the image might look like a distorted trapezoid instead of a perfect rectangle.
- Move the Projector First: Always try to physically move the projector—adjusting its height, angle, and distance—to square the image as much as possible.
- Use Digital Correction Last: Only use digital projector keystone correction to fix the final minor adjustments. Relying too heavily on digital keystone can slightly degrade your image resolution. Finally, use the focus dial (or auto-focus feature) to sharpen the text on the screen.
Step 2: Connecting Your Content (Wired vs. Wireless)

Once the picture is aligned, the next hurdle is figuring out how to actually get movies and shows onto the screen.
The Traditional Route: HDMI and External Devices
If you have a traditional projector, you will need to feed it a video source. This means plugging a streaming stick (like a Roku, Apple TV, or Firestick), a Blu-ray player, or a gaming console into the HDMI port on the back of the unit. Ensure you are using high-quality cables—especially if you plan to connect a PS5 to your projector for 4K gaming at high frame rates.
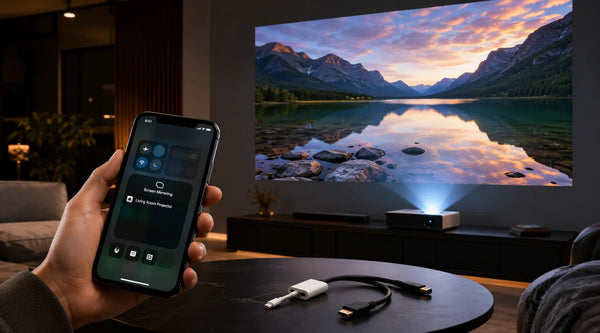
How to Connect Your Smartphone
If you want to quickly share a YouTube video or photos from your phone, wireless casting is the easiest method. Most modern devices support Miracast, Google Chromecast, or Apple AirPlay, allowing you to seamlessly connect your phone to the projector over your home Wi-Fi network without digging for adapter cables.
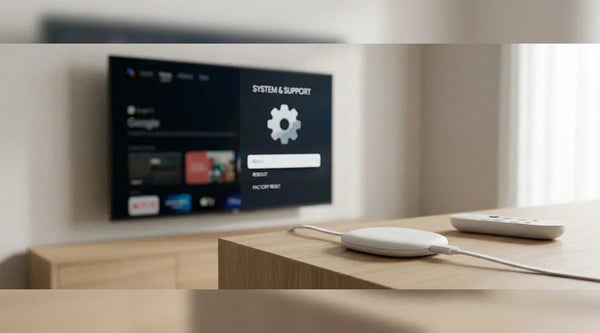
The Smart Projector Advantage (Built-In OS)
Historically, the built-in operating systems on projectors were slow and lacked app support. Today, premium smart projectors eliminate the need for external streaming sticks entirely.
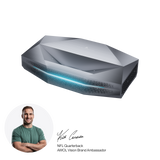
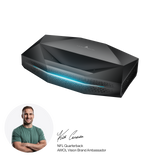
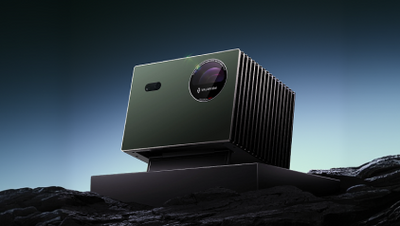
For example, a modern device like the AWOL Vision Aetherion includes a flagship MT9655 processor, Wi-Fi 7, and a built-in Google TV OS specifically to ensure it can deliver a completely native, cable-free streaming experience. With Chromecast and AirPlay 2 built directly into the hardware, you simply log into your Wi-Fi network and start streaming immediately, exactly as you would with a modern smart TV.
Step 3: Upgrading Your Audio Experience
A massive 150-inch cinematic picture deserves sound that matches its scale.
Why External Audio is Essential
While many projectors come with built-in speakers, traditional models often sound hollow or tinny because they simply don't have the physical space for large audio drivers inside the casing. To get true theater-quality sound, you need to route the audio away from the projector and into a dedicated sound system.
Connecting a Soundbar or AV Receiver
The most effective way to upgrade your sound is by connecting a soundbar to your 4K projector. Look for an HDMI port labeled ARC or eARC (Audio Return Channel) on the back of your projector. Running an HDMI cable from the eARC port to your soundbar ensures you are transmitting uncompressed, high-quality audio formats like Dolby Atmos without any lip-sync delay.
Step 4: Optimizing Your Viewing Environment
Your room is the final component of your projector system. Treating the environment properly can dramatically improve your picture quality.
Managing Ambient Light
Projected light has to compete with the light already in your room. If you have large windows letting in afternoon sun, your image will look washed out. While you can use a projector in daylight if it has a high lumen count (brightness), installing blackout curtains or dimming overhead lights will always yield a punchier, more vibrant picture.
Why You Need a Proper Projector Screen
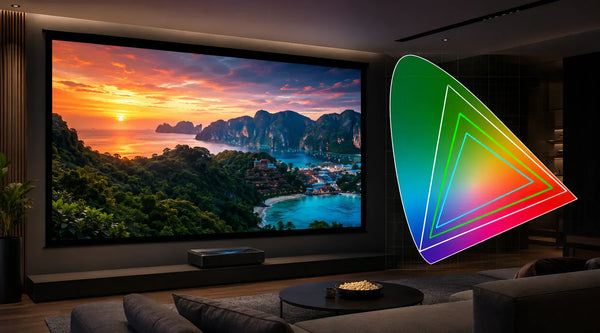
It is a common beginner mistake to point a premium projector at a bare white wall. Walls have microscopic textures that distort pixels, and standard paint absorbs light rather than reflecting it. Investing in a proper screen—especially an Ambient Light Rejecting (ALR) screen—will instantly boost your contrast and color accuracy. If you are unsure if the upgrade is worth it, read our comparison on using a projector screen vs. a wall.
FAQ
Can I use a projector as a regular daily TV?
Absolutely. The days of keeping projectors locked in dark basement theaters are over. With the rise of high-brightness laser light sources and built-in smart operating systems, many users are replacing their living room televisions entirely.
Do I need a completely dark room to use a projector?
No. While a dark room provides the absolute best contrast, modern high-lumen laser projectors paired with the correct ALR or CLR screen can easily cut through daytime ambient light, making them perfect for watching Sunday football with the blinds open.
Can I leave my projector on all day?
This depends on the technology. Older, traditional lamp-based projectors have fragile bulbs that burn out quickly and require cool-down periods. However, if you are deciding between a laser projector vs. a lamp projector, know that modern laser projectors boast lifespans of 25,000+ hours. You can leave a laser projector running all day for background noise or gaming just like a standard TV without worrying about burning through expensive replacement bulbs.

Be the First to Know
Subscribe for special deals, news, and important product information, and get your exclusive $50 discount.
Related Articles
How to Connect an iPhone to a Projector: A Step-by-Step Guide (Wireless & Wired)
Projector Ghosting: The Ultimate Troubleshooting Guide to Sharp, Clear Images
How to Reset Chromecast: The Ultimate Troubleshooting Guide
What Is Color Gamut? A Simple Guide to Display Color
10 Creative Ways of Using a Projector