FAQ
Projectors
80”- 150
Currently, Awol's UI supports 10 languages: English, Chinese, Russian, German, French, Spanish, Italian, Korean, Turkish, and Japanese.
When you play the Dolby Vision (DV) content, there is a DV icon at the beginning that reminds you the input signal is DV. You can press the AWOL Vision remote’s menu button (3 lines) to check the current video HDR format (HDR10, HDR10+, or DV).
The AWOL Vision projector supports the eARC feature. You can use the HDMI 2 (eARC) to connect your AV receiver and the multiple components (Blu-ray, gaming console, tivo) connected to the AWOL Vision’s other 2 HDMI ports can be transferred to you AV receiver for surround sound.
You can connect your multiple components to your receiver to enjoy surround sound and the AWOL Vision unit acts only as a display device.
AWOL Vision projector's enhanced Game Mode achieves about 15ms at 4K@60Hz and 8ms at 1080P@120Hz signal for gamers. You can enable it by following the menu path: [Settings]->[Image]->[Advanced Settings]->[Low Delay Mode]. You can also enable it by changing the Image mode to Game Mode.
AWOL Vision projectors support up to 4K 60Hz non-3D input source and 1080p 120Hz DLP Active 3D input source due to the limits of DLP technology. AWOL Vision supports full active 3D modes including side by side, top and bottom, frame pack, and frame continuous. We recommend the frame pack mode which is the best 3D performance and all 3D blu-rays are in this format.
- Most movies are filmed at 24 frames per second (FPS). To eliminate the 3:2 pull-down judder and to preserve the purity of the original image, the new 24 FPS feature (MEMC set to movie) will accept high-definition sources at 24 FPS to display movies exactly as the director intended.
- We placed the 24 FPS feature under the [MEMC] -> [Movie] menu, and it will disable the MEMC feature automatically when you turn on the 24 FPS feature by [MEMC] -> [24 FPS]. When you set your media player output to 4K@60Hz, the other MEMC settings (high, middle, low, and off) are your options based on our suggestions.
HDCP 2.2
AWOL Vision projectors support HDMI 2.0b. The HDMI 2.1 4K 120Hz offers no extra benefits for a 0.47-inch DLP projector as the 0.47 in inch DLP can only support 4K 60Hz output.
Yes.
The LTV supports Bluetooth, allowing you to search and connect with any Bluetooth device.
To begin pairing:
1. Go to Settings > Bluetooth > Management.
2. Make sure the Bluetooth device is in pairing mode.
3. Add an device.
Screens
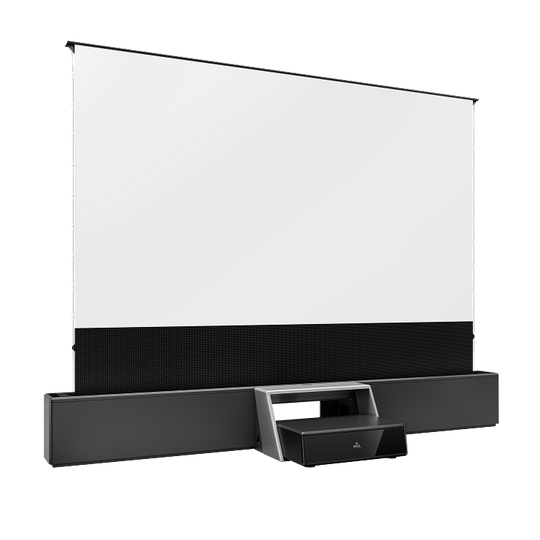
The 100” AWOL Vision Floor Rising Screen is 92.9” x 60” x 6.3”
The 120” AWOL Vision Floor Rising Screen is 111.4" x 76.8" x 6.3"
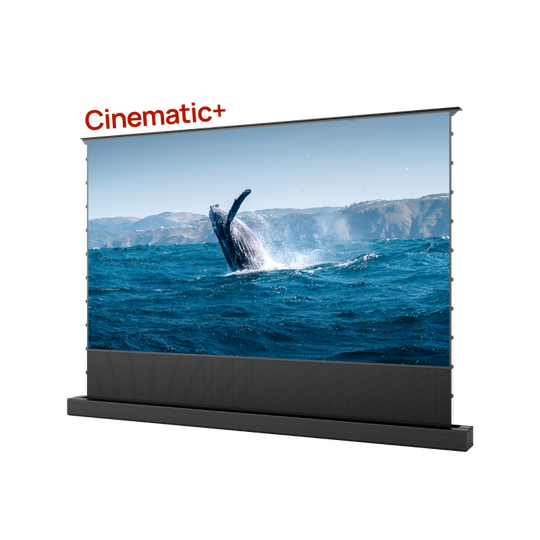
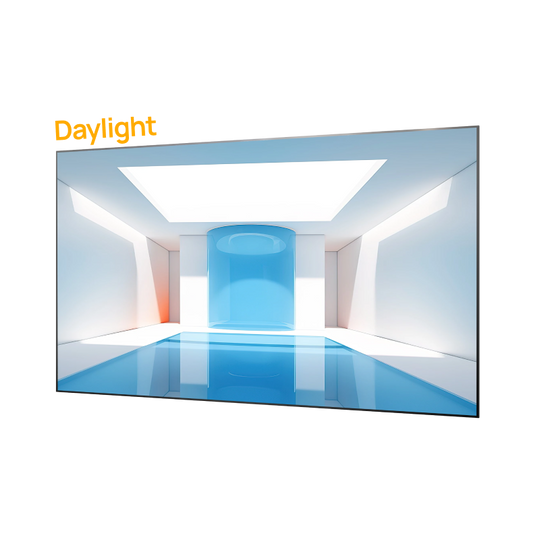
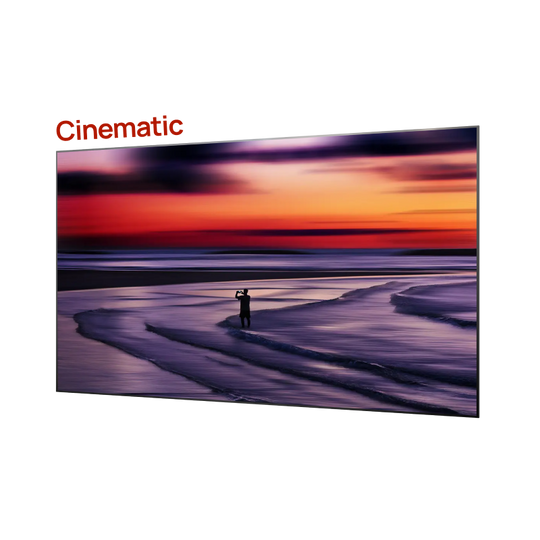
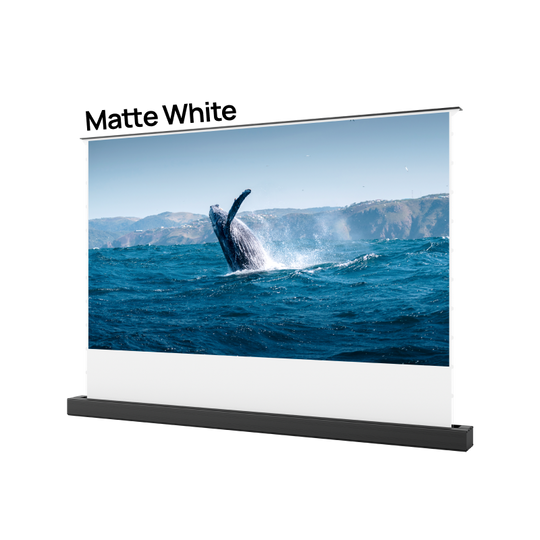
We recommend the Cinematic Screen for a room with moderate to no ambient light. The Daylight screen is recommended for rooms with high amounts of ambient light. Please see the product pages for more details.
Cinematic screen has a gain of 0.6dB and is composed of BlackGrid, an eco-friendly TPU material.
Daylight has a gain of 1.1dB and is constructed with Fresnel PET.
No, you can project onto a flat wall. However, we strongly suggest purchasing an Ambient Light Rejection (ALR) screen made for UST projectors. A screen will maximize your experience with your AWOL Vision projector. We currently sell 100" and 120" ALR Cinematic Screens and 100" ALR Daylight Screen.
Yes, users can install them by themselves using the manual or installation guide video. Expect 2 people to take about 1-2 hours to assemble and mount the screen.
Expect 2 people to take 1-2 hours.
The minimum recommended viewing distance is 13 feet and the recommended distance from the wall to the projector is 8 inches.
We recommend disassembling and reattaching the springs so they are tighter.
- To remove the springs, place the hook on the part of the spring highlighted below and pull towards you/edge of the screen.
- Readjust the frame and screen so that everything is lined up evenly.
- With two people on opposite ends of the screen, attach the springs at the same time and try to latch it on to the second ridge for a tighter spring tension. Repeat this on all corners.
- Attach springs towards the middle of the screen, then attach springs every other hole, and then attach springs to the remaining holes.
3D Tech
To enable the 3D feature and start viewing 3D content, please follow these steps:
1. Verify Content Compatibility:
Ensure that the content you wish to view is in 3D format.
2. Enable 3D Feature:
Press the Settings Button on the remote control.
Navigate to the 'Image' section.
Select '3D'.
3. Select Correct Format:
Choose the appropriate format for your 3D content. For example, Blu-ray discs often use frame packing.
4. Activate DLP Link 3D Glasses:
Turn on your DLP Link 3D glasses.
Ensure they are fully charged and operational.
Please use the 3D demo videos in the google drive to test the 3D
feature:
● https://drive.google.com/drive/folders/1L_EIOtqSIeSGMa4XXH_cimeEf92HJ7kB?usp=sharing
The DLP-Link 3D glasses are synchronized by briefly displaying a flash of white light on the projector between video frames with 120Hz rate. Both lenses of the DLP-Link Active Shutter Glasses are supposed to close (i.e. go blank) when this flashed synchronization "signal" is displayed, so it is not actually seen by the viewer wearing the glasses. There is a light sensor on the 3D glasses and you have to make sure the sensor can receive the 120Hz rate white synchronization signal from the projection image. You have to turn on the glasses when you watch 3D movies each time – press the only button on the 3D glasses or select the left/right setting in the 3D menu to change the left eye or the right eye as the main viewing eye depends on different users.
- Left Right Exchange
As everyone has a primary eye and a secondary eye, the left and right exchange feature is to change the 3D link to left and right sequences according to your primary and secondary eye.
3D SS to 2D
Changes Side by Side 3D content to normal 2D content
3D TB to 2D
Changes Top and Bottom 3D content to normal 2D content
Please make sure your 3Dglasses have power. You can charge them with the micro-USB cable it came with.
Press only the buttons on the 3D glasses to change the left or right eye as the main eye. This depends on different viewers.
● You must follow these steps in order to enjoy your 3D content:
1. Play your 3D content
2. Enable 3D by clicking the Settings Button on the remote > Image > 3D
3. Select the correct format in which your 3D content is formatted (e.g., Blu-ray discs are frame packed)
4. Turn on your DLP Link 3D glasses (Make sure they are charged)
All Blu-ray 3D discs are in frame pack format. Please make sure you are selecting the frame pack format and not the other formats. The image will become full (not half images)
Common Questions
Go to the focus menu by going to [Settings] -> [Light] -> [Focus]. Make sure to single click the up and down keys on the remote control instead of long pressing the up and down keys in order to
fine tune the focus performance. Look at the four squares in the corners and adjust until all four are in focus.
15ms 4K@60Hz and 8ms 1080P@120Hz input lag with Turbo Mode
You can turn off the startup sound by going to [Settings] -> [General] -> [Power Setting] -> [Startup Sound]
Please find the video installation manual in the following https://drive.google.com/drive/folders/1AZ6CbKEjjk1dnsDa5M2k3aaf08cU4Mz3?usp=sharing
Should you need more technical assistance,
please reach out our support team:support@awolvision.com
Under [Video and Audio] on Apple TV:
Format: 4K SDR
Match Content: Range On
If you use an ultra-short throw projector on a wall/surface that isn’t completely flush, you will see these distortions. Since the unit sits so close to the wall, any bumps or blemishes on the wall will be enhanced by the projector.
We haven’t integrated our projector’s IR values with the Amazon Fire TV Stick, which is why you cannot use the Fire TV Stick to control the AWOL Vision.
We suggest you use the AWOL Vision remote to control the projector and the Fire TV Stick after enabling the projector’s CEC feature by going to [Setting] -> [General] -> [CEC]
The power indicator light will blink slowly when powering off. When it is solid, the projector is on.
There are two extra notes for your operation and settings.
Change the Fire TV Stick HDR default setting. On the homepage of the Fire TV Stick, go to [Setting] -> [Display] -> [HDR] -> [Adaptive] to optimize the SDR input source from the Fire TV Stick.
If you would like the original colors of SDR content, on the homepage of the projector, go to [Setting] -> [Image] -> [Advanced Setting] -> [Wide Color Gamut, Turn OFF]
As you know, our projector is a tri-color pure laser projector that can achieve top color range. BT 2020 performance. In order to utilize the BT 2020 top color range performance, we developed the Wide Color Gamut (WCG) feature which extends all SDR non-BT 2020 content into SDR BT 2020 top color range in all image modes (Standard, Vivid, Sports, Game) except for movie mode as most end users prefer the actual and real color value while viewing a movie.


