How to Hang a Projector Screen: A Step-by-Step Guide
When constructing a home theater, adding a projector screen enhances the overall experience, making it feel more immersive, like in a cinema. Although hanging a projector screen may appear difficult, anyone can do it with appropriate equipment and instructions. In this guide, we shall look at the appropriate steps to follow to mount your projector screen in the best and most comfortable position for viewing.
What Do You Need to Mount a Projector Screen?
Before we learn how to mount a projector screen, gather these essential tools to make the process smooth and efficient:
- Stud Finder – for finding secure mounting spots
- Level – to ensure your screen is straight
- Drill and Screwdriver – for creating holes and securing brackets
- Measuring Tape – to measure placement accurately
- Anchors – if wall studs aren’t available
- Optional: Laser Level – to get precise leveling easily
With these tools in hand, let’s dive into the setup!

Step 1: Choose the Right Wall and Height
If you are asking yourself how to hang a projector screen, the first step is to acquire the right wall with the right height. Selecting the right wall and height for a projector screen to determine how comfortable watching it would be is essential. A wall with a perpendicular angle and less or no ambient light should be selected to avoid glares and reflections. Use a wall with no features or a window facing that particular wall if possible. The commonly given rule is to place the screen such that the lower edge of the screen is 24 to 36 inches from the floor for the most comfortable viewing when seated. This height allows for easy screen watching by all persons present without straining their necks.
Step 2: Measuring and Marking the Placement
Now, it’s time to measure and mark the placement of your screen. Measure the total width and height of the screen, including any mounting bracket space. Measure the wall to determine the center point for the screen’s placement. This helps ensure a balanced, centered screen in your viewing area. Use painter’s tape to mark the screen’s edges and center temporarily. This visual guide will make it easier to line everything up once you're ready to mount.
Step 3: Locate Wall Studs or Use Wall Anchors
Use your stud finder to locate studs behind the wall. Mark these spots, as they provide the most secure support for the screen’s weight. Sometimes, you won’t find studs in the right places. Use wall anchors rated for the weight of your screen, following the anchor package instructions carefully for a secure fit.
Step 4: Installing Brackets or Screws
Line up the mounting brackets with the marks you made in Step 2. Make sure to level the brackets once again before you tighten them down. Then using a drill, make the necessary drill holes for the provided screws before fixing the brackets to the wall. The brackets also need to be adequately secured since they will carry the weight of the screen.
Step 5: Mounting the Projector Screen
Now comes the exciting part – hanging the projector screen itself. With the help (projector screens can be heavy), lift the screen and align it with the mounted brackets. Each projector screen may have specific mounting instructions, so follow the manufacturer’s guidance for safe attachment.
Step 6: Final Adjustments and Testing
Use a level to double-check that the screen is straight. Make minor adjustments as needed to keep it even. Sit in your primary viewing spots to ensure a good viewing angle. Give the screen a gentle shake to ensure it’s securely mounted without wobbling.
Common Issues On Projector Screen Wall Mounting
Even with careful planning, you might encounter a few home theater screen installation issues. Here are some common problems and quick solutions:
- Crooked Screen: If your screen appears crooked, use the level again and adjust the brackets or screen position.
- Stability Problems: If the screen feels loose, double-check the wall anchors or screws to ensure they’re tightened securely.
- Wall Damage Prevention: Always use the correct drill bit size for anchors to avoid wall damage.
Finally, check the screen quality by ensuring the material has no visible waves or bends. A smooth screen surface is crucial for an optimal viewing experience.
Best Projector Screens for Different Environments
Choosing the right projector screen can further enhance your DIY projector screen setup:
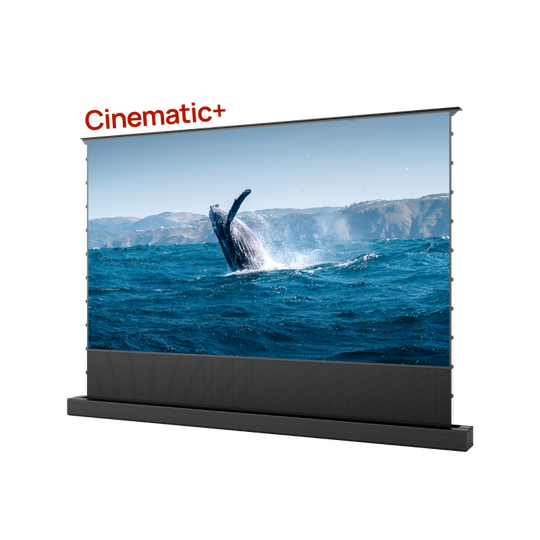
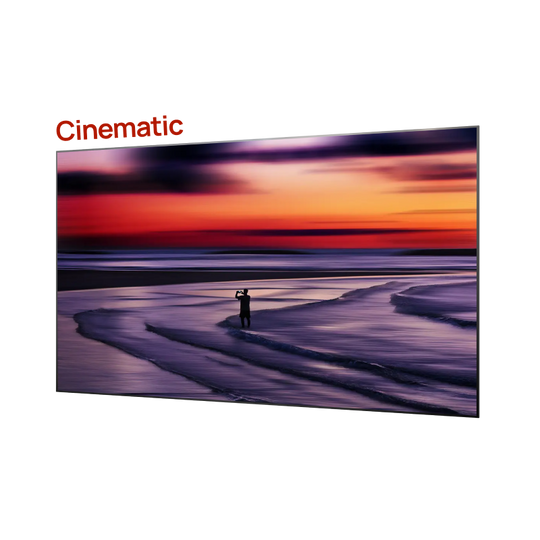
- For Rooms with Controlled Lighting or Dark Settings, The AWOL Vision Cinematic Projector Screen is a fantastic choice. It delivers deep contrast and vibrant colors in dark and light-controlled spaces, creating a cinematic experience.
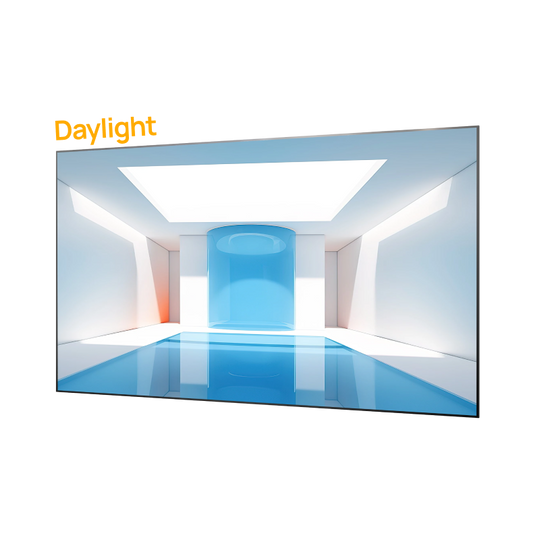
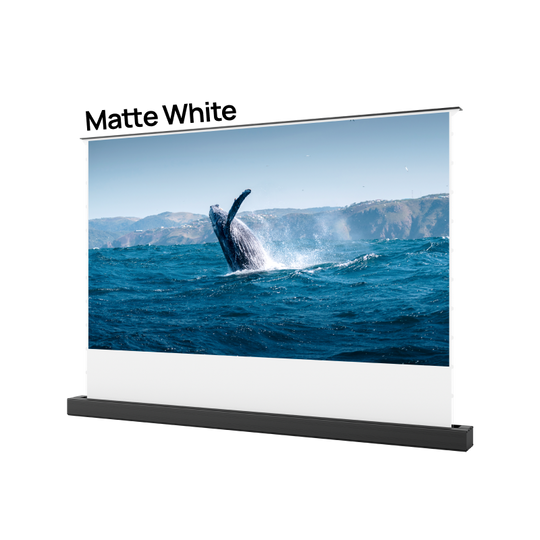
- For Rooms with Ambient Daylight: Consider the AWOL Vision Fresnel Daylight ALR Screen if your space has natural light. This screen maintains brightness and clarity even in well-lit rooms, making it ideal for multi-purpose areas.
Final Thought: Time to Enjoy!
You’ve successfully mounted your projector screen – now it’s time to sit back, relax, and enjoy your enhanced home theater experience! Feel free to comment if you have any questions about the process, and stay tuned for more projector setup tips.

Be the First to Know
Subscribe for special deals, news, and important product information, and get your exclusive $50 discount.


