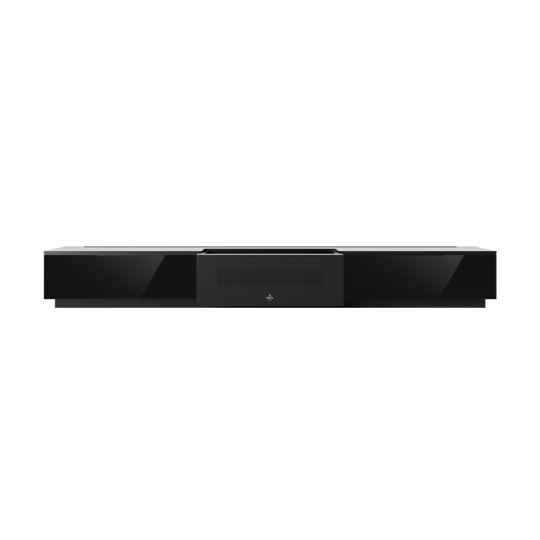
How to Clean Projector Lens: 5 Simple Steps
If you have purchased a projector, you also need to ensure its maintenance. If you feel that the images aren’t as bright or crisp as they used to be, it means your lens needs cleaning. A dirty lens distorts visual clarity and interrupts the viewing experience. The lens may get dirty due to smears or pet hair.
Hence, you need to clean it regularly to enjoy the visuals to their full extent.
In this guide, you will learn about how to clean a projector lens properly and safely and the various mistakes to avoid when doing the job.
Tools and Materials Needed
Before you begin maintenance, it’s important to gather the essential tools and materials to ensure a smooth job. You’ll need:

- A lens brush
- A microfiber cloth
- A lens-cleaning solution
- A manual lens blower
It is important to purchase lens-oriented cleaning products and not alcohol-based products as they may damage your lens and worsen your job.
Step-by-Step Cleaning Guide
Once you’ve gathered all the tools, you may proceed to clean the lens gradually.
Step 1: Power Down and Unplug the Projector
First, turn off your projector and unplug it to ensure your safety. Allow it to cool for at least 20 minutes as the internal parts of the lens get too hot during operation.
Step 2: Remove Dust and Loose Particles
Use a manual lens blower to gently blow away loose dust and debris from the lens. Start from the middle and gradually work your way around the corners. Use a soft brush to gently remove the remaining dust from the lens.
Step 3: Apply Lens Cleaning Solution
The next step is to apply a small amount of lens cleaning solution to a microfiber cloth to dampen it. You must avoid spraying the solution directly onto the lens as this may damage your lens.
Step 4: Gently Wipe the Lens
Now gently wipe the lens with the dampened microfiber cloth in a circular motion to avoid streaks and scratches. You must not be too harsh when wiping the lens. You must use a microfiber cloth as it is soft and does not scratch the lens.
AWOL Vision’s projectors’ lenses are reinforced during manufacturing, so there is no need to worry about frequent cleaning which may cause damage to the lens.
Step 5: Inspect the Lens
Once you have cleaned the lens, inspect the lens for any remaining smudges or dust. If you spot some problems, consult the projector’s manual for help. If some residue remains, use a lint-free cloth to wipe away debris and ensure your lens is crystal clear.
Tips for Maintaining a Clean Lens
For increased safety, you may use a lens cap to cover the lens when the projector is not in use. This prevents dust and dirt from entering into the lens and damaging it. You must also clean your projector lens regularly to avoid dust accumulation. Inspect the lens before each use to ensure it is free of dust and smudges.
Common Mistakes to Avoid
Some individuals use harsh materials and tools to clean their lenses which instead of doing the job worsens it. These mistakes damage your lens and disrupt its display. Some of the common mistakes people make when cleaning their lenses are using abrasive materials such as using a rough paper towel to clean their lenses rigorously.
Excessive force causes scratches on the lens which results in poor image quality. It is also advised to not spray the cleaning solution directly onto the lens as it may seep into the lens, causing irreversible damage.
Some people also have the habit of touching the lens with their bare hands which may leave oil marks or smudges that are a bit difficult to remove. Storing the projector without a lens cap may also cause dust to accumulate on the lens, causing damage.
It is important to be as gentle with the lens as possible. To avoid these mistakes, use a soft cloth such as a microfiber cloth to clean the lens gently and use little force to sweep the lens. You must also apply the cleaner solution on the microfiber cloth first and then wipe it on the lens. Moreover, you must not touch the lens bare hand but use gloves to touch it. Lastly, always put on the lens cap when the projector is not in use to extend its longevity.
Conclusion
Cleaning a projector lens requires patience and using the right tools. Using lens-friendly materials and cleaning the lens gently results in a pristine and crystal-clear lens. The process involves blowing the dirt off the lens, using a microfiber cloth to remove the remaining debris, and rechecking the lens for remaining residue.
Regular maintenance extends the lens’ life and results in impressive visual clarity. It is recommended to follow the guidelines mentioned above to effectively clean the lens.

Be the First to Know
Subscribe for special deals, news, and important product information, and get your exclusive $50 discount.


