















Projector Shelf: How to Choose, Install, and Get the Best Picture
A projector shelf is one of the most practical mounting solutions for many home theater setups. Compared with a ceiling mount, it is usually more affordable, easier to install, and much easier to adjust if your room layout changes later. For renters, bedrooms, living rooms, and multipurpose media spaces, a shelf often makes more sense than a permanent ceiling installation.
This guide explains how to choose the right projector shelf, compare the main mounting options, install the shelf safely, and avoid common placement mistakes. If this is your first setup, our beginner’s guide to using a projector is also a helpful starting point.
What to Check When Choosing a Projector Shelf
Not every shelf works with every projector. Get these three factors right before buying anything.
Throw Ratio Determines Shelf Position
Before evaluating any shelf or mount type, you need your projector's throw ratio. This single number — the ratio of throw distance to image width — determines where in the room the projector must physically sit. Get the placement wrong at the mounting stage and no amount of keystone correction will fully fix the picture.
- Standard-throw (1.5–2.0): Must sit at the back of the room, 10–18 feet from a 100" screen
- Short-throw (0.4–1.0): Sits 3–6 feet from the screen
- Ultra-short-throw / UST (0.1–0.25): Sits inches from the screen — fundamentally incompatible with rear-wall shelf mounting
Lens Shift Determines Shelf Height
If your projector has vertical lens shift, you have flexibility in shelf height — the lens shift range lets you raise or lower the projected image without tilting the unit. If your projector lacks lens shift, the shelf height is essentially fixed by the projector's optics: typically between 18 and 40 inches above the floor, depending on the model. Getting this wrong means relying on digital keystone correction, which always softens image sharpness.
Ventilation Determines Shelf Design
Projectors run hot. A projector wall shelf must never enclose the unit on all sides. Leave at least 6 inches of clearance behind the projector for airflow and cable routing. Avoid recessed cabinets unless they have purpose-built ventilation cutouts. Overheating shortens lamp life significantly and can trigger automatic shutdown mid-use.
Ceiling Mount vs Wall Shelf vs Floor Stand vs TV Cabinet
The best mounting option depends on your room, projector type, and how permanent you want the setup to be.
Option 1: Ceiling Mount
A ceiling mount suspends the projector overhead, projecting downward toward the screen. The projector is mounted inverted and the image is flipped in software.
Pros:
- Completely out of the way — no floor space, no wall furniture
- Shorter throw distance from a centered ceiling position means higher image brightness
- Professional appearance in dedicated home theater rooms
- No interference from foot traffic or furniture
Cons:
- Requires drilling into ceiling joists — not suitable for renters
- Installation is the most complex of all options, often requiring a professional
- Lamp replacement and filter cleaning require a ladder and often full unmounting
- If your projector lacks lens shift, ceiling positioning becomes very difficult to align
Best for: Dedicated home theater rooms with fixed seating, high ceilings, and a permanent setup mindset.
Option 2: Wall-Mounted Projector Shelf
A wall shelf holds the projector at a fixed height on the wall, right-side up. This is the most versatile category and covers several sub-types.
Floating rear wall shelf: Mounts flush to the back wall using concealed brackets. The standard solution for standard-throw projectors. Choose a depth of at least 12 inches and a weight rating double the projector's weight.
Corner shelf: Fits into a 90-degree room corner, projecting diagonally. Useful when no clean rear wall is available. Requires confirming your projector's horizontal keystone range before committing.
Ceiling drop shelf: Mounts to ceiling joists and extends a platform downward — unlike a ceiling mount, the projector sits right-side up. Used when overhead placement is needed but image inversion is undesirable.
Pros:
- Lower installation complexity than ceiling mounting
- Projector stays right-side up — easier maintenance and lamp access
- Multiple sub-types adapt to different room layouts
- Works well for both permanent and semi-permanent setups
Cons:
- Still requires wall anchoring into studs — rental-unfriendly without proper toggle anchors
- Fan noise can be audible if the shelf is positioned near seating
- Less clean aesthetically than a ceiling mount in a dedicated theater room
Best for: Living rooms and bedrooms being converted to part-time home theaters, standard-throw and short-throw projectors.

Option 3: Floor Stand / Tripod Stand
A floor stand places the projector on a freestanding adjustable pole or tripod, positioned at the back of the room or beside the seating area.
Pros:
- Zero installation — no drilling, no wall anchors
- Fully portable and repositionable
- Ideal for renters or setups that move between rooms
- Quick setup for temporary or occasional use
Cons:
- Occupies floor space and sits in foot traffic zones
- Highly susceptible to being bumped, especially in households with children or pets
- Cable management is visible and harder to keep tidy
- Less stable than a wall or ceiling mount — any movement shifts the projected image
Best for: Temporary setups, rentals, portable projectors used in multiple locations, or users who want zero commitment before deciding on a permanent mount.
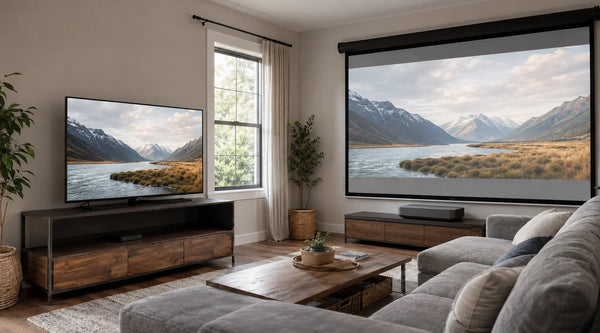
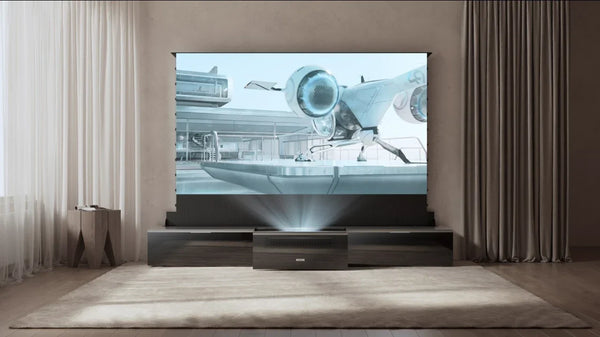
Option 4: TV Cabinet — The Right Choice for UST Projectors
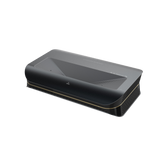
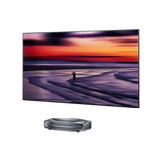
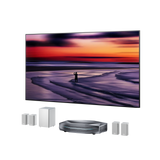
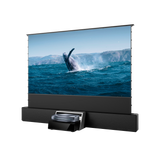
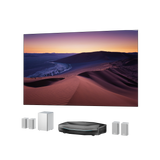
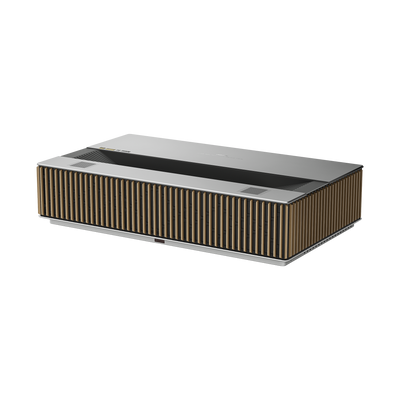
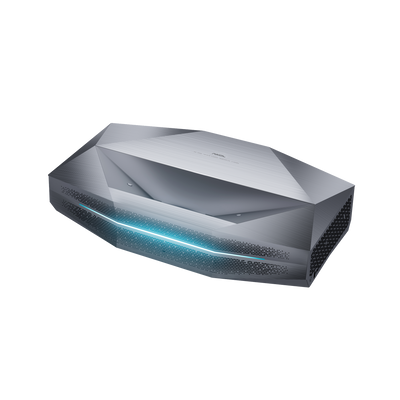
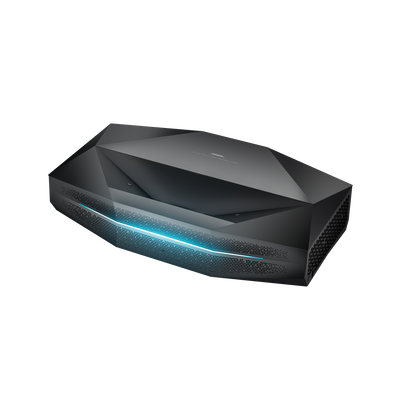
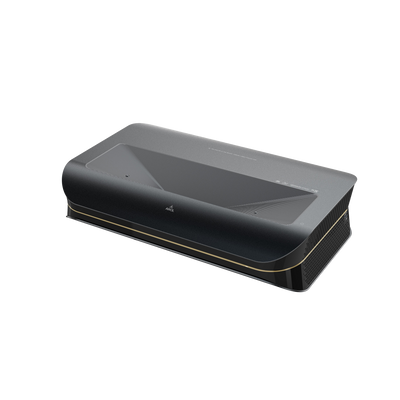
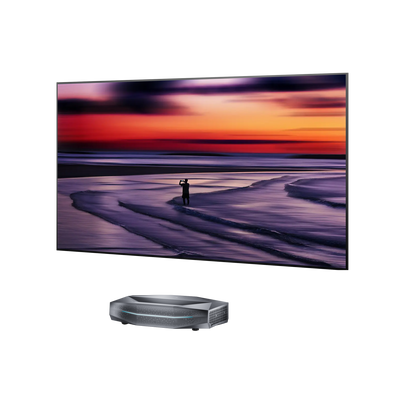
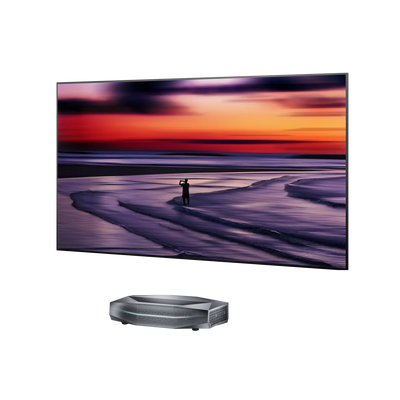
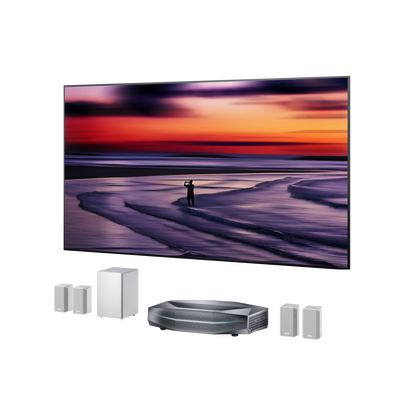
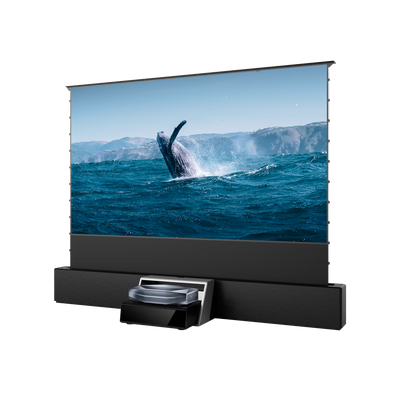
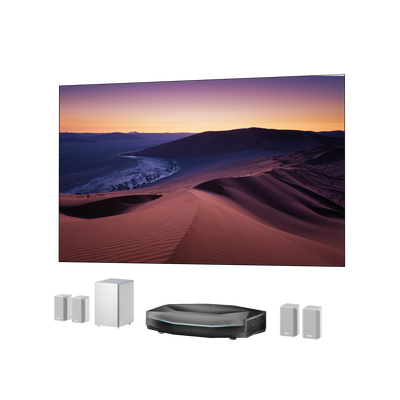
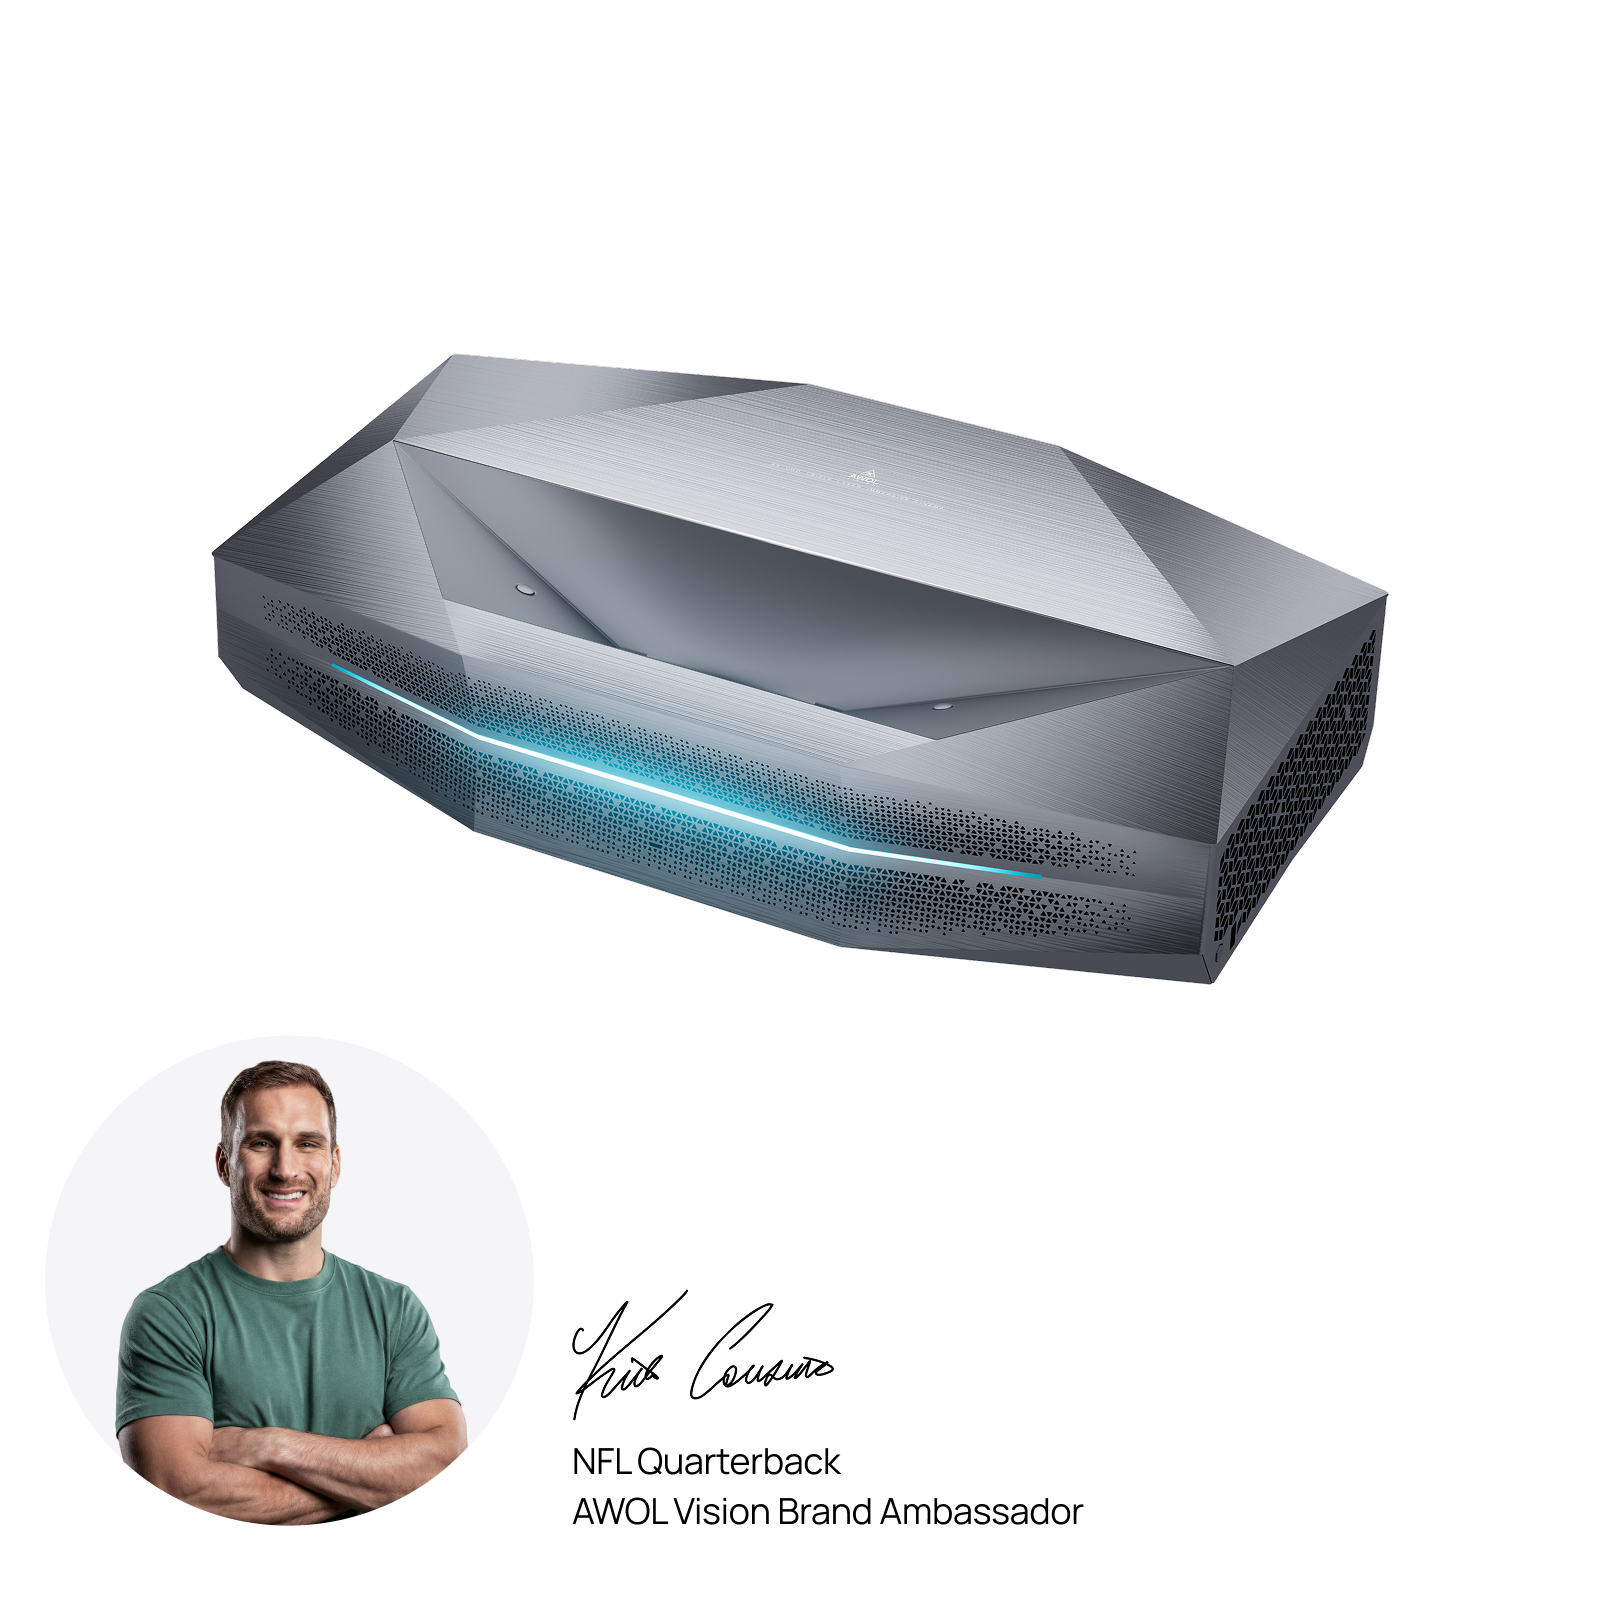
If you're using an ultra-short-throw projector with a throw ratio of 0.2:1 or lower — such as the AWOL Vision Aetherion — the three options above are all the wrong conversation. A rear wall shelf, ceiling mount, or floor stand behind the seating area is physically incompatible with a 0.2:1 throw ratio. At that geometry, the projector needs to sit just 4–6 inches from a 100" screen.
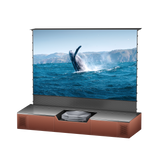
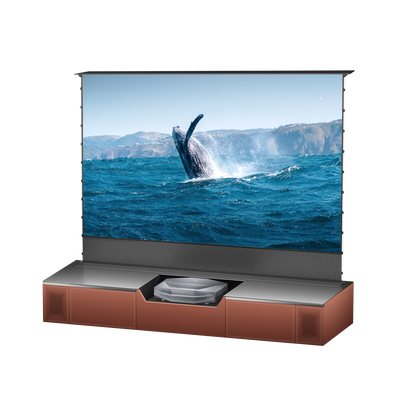
The correct solution is a standard TV cabinet or low-profile media console positioned directly beneath the screen, the same way you'd place a TV stand.
Why a TV cabinet works perfectly for UST:
- Correct throw distance by design. A TV cabinet places the projector exactly where it needs to be — close to the wall, directly below the screen, with no distance calculation required.
- Built-in cable management. Media consoles are already designed to house AV equipment: power strips, HDMI sources, audio receivers. Everything lives in one place, cables stay hidden.
- No installation required. No drilling, no anchoring, no professional help. Place the cabinet, set the projector on top, and align.
- Stable and protected. Unlike a floor stand, a solid media console doesn't flex or shift. The projector stays precisely positioned once aligned.
- Room integration. A TV cabinet looks intentional — the projector becomes part of the furniture layout rather than a technical device mounted to a wall.
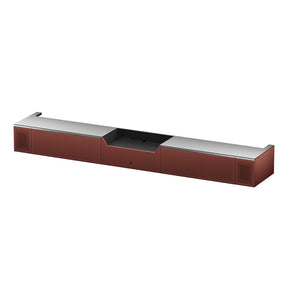
Quick Decision Guide
| Your situation | Recommended option |
|---|---|
| Standard-throw projector, permanent room | Ceiling mount or floating wall shelf |
| Standard-throw projector, rental or flexible setup | Wall shelf with toggle anchors or floor stand |
| Occasional use, full portability needed | Floor stand |
| Short-throw projector, smaller room | Wall shelf (floating or corner) |
| UST projector (0.2:1 throw ratio) | TV cabinet / media console |
How to Install a Projector Shelf: The Essential Steps
- Calculate shelf height first. Work backward from your screen: the projector lens should sit within the lens shift range relative to the screen center. For units without lens shift, check your projector's manual for the exact offset requirement.
- Locate studs before drilling. Use a stud finder. Never anchor into drywall alone — if studs aren't where you need them, use toggle anchors rated for at least twice the combined weight of the shelf and projector.
- Check level before final drilling. Even a 1-degree tilt in the shelf produces a noticeably crooked image. Set level, mark holes, then drill.
- Route cables before placing the projector. Run HDMI and power cables along a wall raceway or through the wall before the projector goes on the shelf. Retrofitting cable management after the fact is always harder.
-
Minimize keystone correction. Once the projector is placed, use optical lens shift to align the image. Only use digital keystone correction for the final minor adjustments — heavy keystone correction visibly softens the picture.
If you choose a professional TV cabinet for a UST projector, you simply place the cabinet below the screen, position the projector, manage the cables inside the cabinet, and fine-tune the image.

The Bottom Line
Choose the shelf based on the projector, not the other way around. A standard-throw projector can work well on a rear wall shelf or ceiling mount. A short-throw projector needs a closer placement. A UST projector should sit on a TV cabinet or dedicated UST cabinet directly below the screen.
The key is to get the throw ratio, shelf height, ventilation, and cable routing right before final placement. Once the projector is positioned correctly, the image will be sharper, the setup will look cleaner, and you will avoid the frustration of constant realignment.
FAQ
Can I put a projector on a rear shelf?
Yes, but mainly for standard-throw projectors. The shelf must be placed at the correct distance and height for the screen size. It should also be level, stable, and properly anchored.
Is a projector shelf better than a ceiling mount?
A projector shelf is easier to install, easier to access, and more flexible. A ceiling mount looks cleaner and saves space, but it requires more installation work. For renters and living rooms, a shelf is usually more practical. For dedicated theater rooms, a ceiling mount may be better.
How deep should a projector shelf be?
The shelf should fully support the projector body and leave extra space for cables and ventilation. For many home theater projectors, at least 12 inches of depth is a good starting point, but larger models may need more.
Can I use a normal TV cabinet for a UST projector?
Sometimes, but a dedicated UST cabinet is usually better. UST projectors require precise distance, stable placement, and clean cable management. A normal TV cabinet may work if it has enough depth and stability, but it may not offer ideal alignment.
Be the First to Know
Subscribe for special deals, news, and important product information, and get your exclusive $100 discount.
Related Articles
A Projector in an Apartment: Make Room for the Screen, Not a Theater
Small Man Cave Ideas: 10 Activity-Based Setups for Limited Space
Frame TV Alternative: A Smarter Vision for the Living Room
How to Connect a Speaker to a Projector
Hidden Projector Screen Ideas: How to Make a 120-Inch Screen Disappear