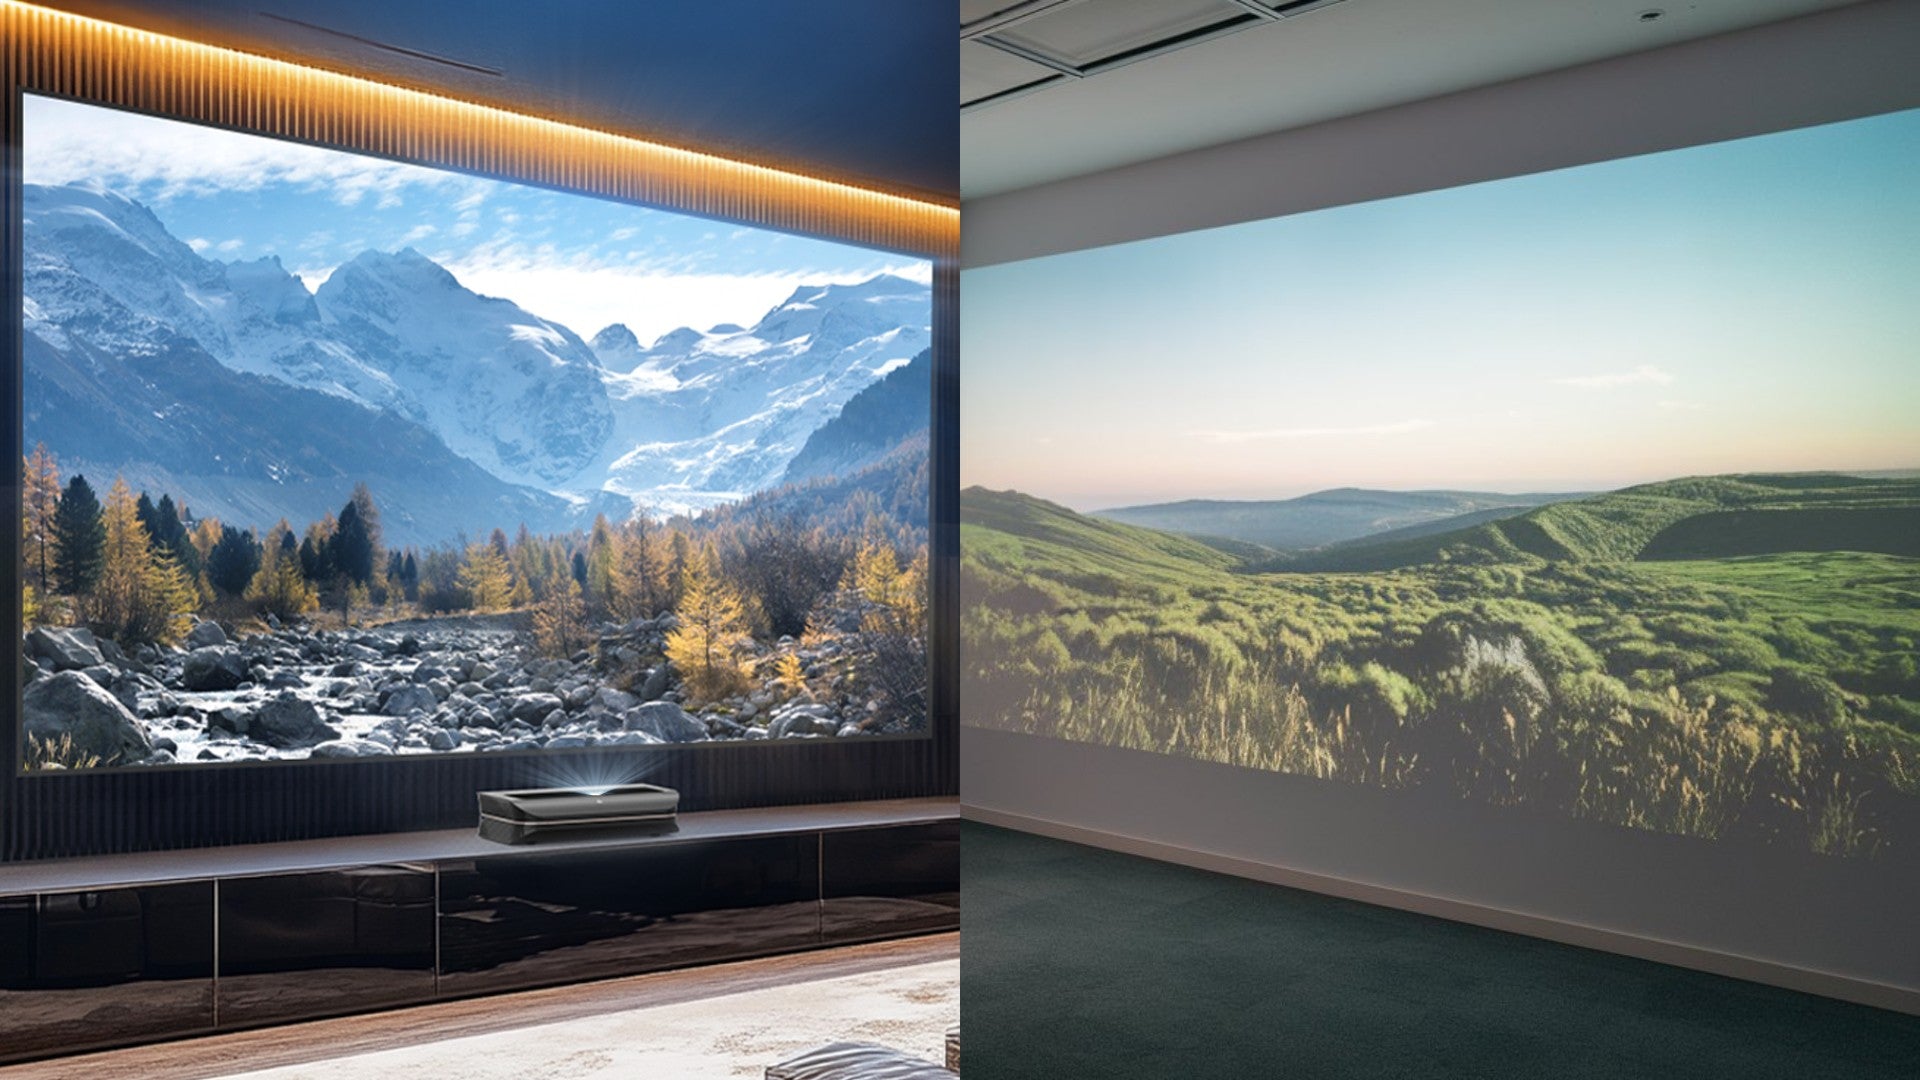
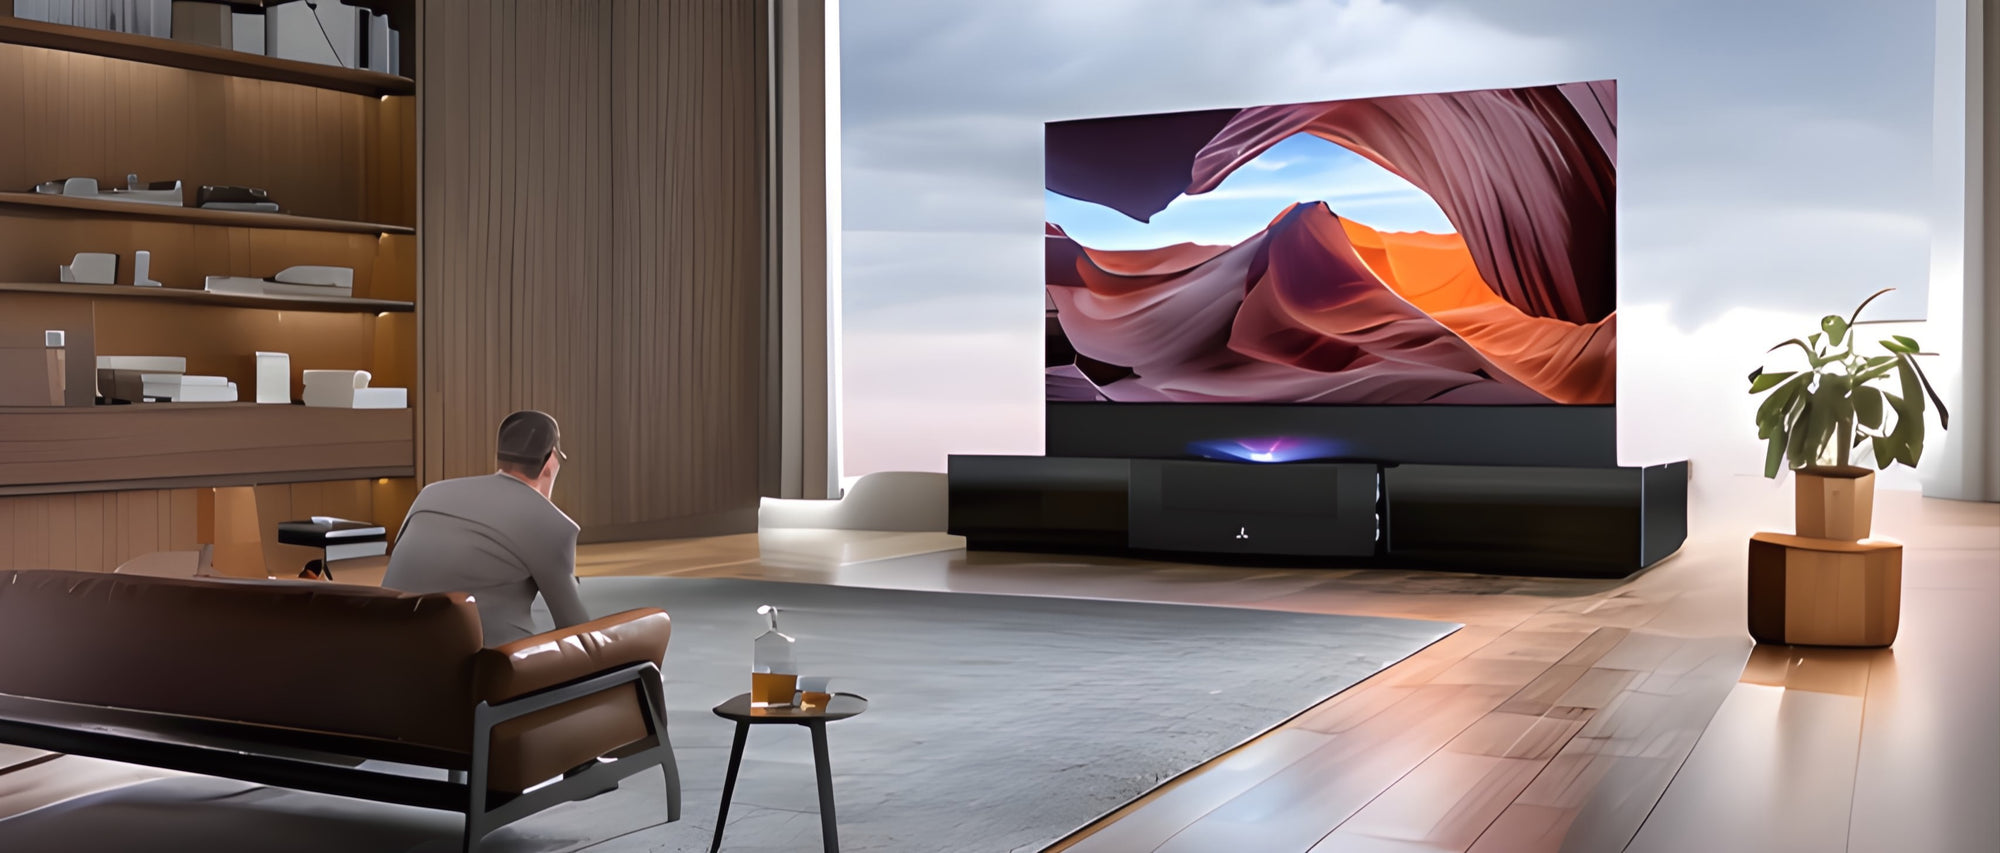
Are you the proud owner of an AWOL RGB Laser TV? Congratulations! Laser TVs offer stunning picture quality and a lot of fun, but calibrating the image parameters in the menu can be a little tricky as there are so many parameters available to confuse you. In this comprehensive step-by-step guide, we explain the basic and most important image parameters and how they affect the image quality of your Laser TV projector.
Brightness Adjustment
The brightness control allows you to set what the screen interprets as full black – or the best black level. As a rule, this is already pre-configured so that black equals the maximum black level our projector can product. However, it may be necessary to change the default setting (usually 0 or 50) to obtain a higher or lower value due to source/player internal settings or because the different content fixed values.
Overall, the brightness setting regulates the "brightness-level" of black (even if many of you have previously believed the opposite, that it regulates the brightness of white), i.e. the degree of the darkest shade of gray that our Laser TV projector can produce.
The brightness setting is also helpful when why try to create a daytime viewing mode, as adjusting the black level to match the sensitivity of the eye in bright viewing conditions can help to see darker content that is normally difficult to see.
We can easily adjust the Brightness from the basic image menu.
(Note: if we increase the black level, this also affects the entire range of gradations. The same applies to reducing the amount of white with the contrast control)
Contrast Adjustment
Now let’s move on to the contrast setting. While it can affect contrast (just as the brightness control can affect contrast), it actually controls the white level, i.e. the value that corresponds to full white that our Laser TV projector is capable to produce on the screen. This value is also usually set factory correctly, but there are cases where you need to change it to prevent the white from being overshadowed or for the reappearance of “burned” white details on some contents.
We can easily adjust the Contrast from the menu

Contrast adjustment can be also useful in HDR calibration as it allows you to control where you cut off the content – e.g. hard cut at 1000nits instead of 4000nits to increase the brightness of the lower nit levels in the content.
However, as contrast control also affects gamma or EOTF, it should generally not be used for this purpose.
Lowering the contrast control beyond what is required to fully decode the incoming signal will affect the on/off contrast by lowering the white level. In the same way, increasing the brightness control beyond the required level can reduce the On/Off contrast as the black level is increased. On/Off contrast is the distance between the max white and the lower black level our Laser TV can generate, remember?
Grayscale & Gamma Adjustment
There is full black and full white. Between those two values, different shades of white are the Greyscale. We normally express these shades as the % of white: e.g. 10%, 20%, e.t.c
Gamma on the other hand is the just a Grayscale sub-parameter and concern the distance of any intermediate shade of gray from the 100% white, the maximum brightness that your Laser TV projector can produce.
Greyscale is one of the most crucial parameters of the image, as its adjustment affects:
- White balance (and generally the shade of all grey gradations)- Gamma curve (the distances of grey gradations from the full white)
- Contrast (the distance between the "darkest" black and the "brightest" white that our Laser TV can produce).
With a wrongly calibrated grey scale, we'll experience:
- Poor dark scenes with low contrast- Incorrect shading across our entire image (it will appear blueish, greenish, or reddish)
- Less information or lower overall contrast due to the incorrect gamma curve.
As you can understand, the Greyscale is perhaps the most important parameter, and its degree of influence on our image is pivotal. If we had to deal with adjusting only one of all main parameters we will mention in this article, it would certainly be the Greyscale.
We can adjust the Grayscale & Gamma with:
- Gamma setting (adjust the whole Grayscale distance from the 100% white)- Color Temperature (we can choose a specific mode for cool, warm or standard temperature of the Gray Scale or we can choose the USER mode)
- White Balance (choosing USER mode on Color Temperature setting we can adjust blue, red and green colors of the Grayscale independently, we can call it RGB Grayscale setting in general)

Colors Adjustment
The last, but also important parameter is the color.
The colors can be adjust using the Color Management System (CMS), which you can find in the advanced picture menu of your Laser TV projector.
The colors and their adjustment settings on the menu have nothing to do with the RGB settings we mentioned in the section for Grayscale, just to be clear.
The Grayscale RGB adjustment

The Color Correction Sub-Menu

The color settings are not about the overall color shading of our image like the Grayscale, but about the specific adjustment of objects within the image. For example, a red rose, some green grass, a blue car perhaps, etc., whose hue, saturation and brightness we can adjust via the CMS menu.
Through the CMS control, we can separately adjust the 3 primaries (blue, red, green) and the 3 secondaries (yellow, cyan, magenta) in terms of their hue, saturation, and brightness exactly as we want or as international standards dictate, or even depending on the content we are viewing (HDR, SDR, DolbyVision, etc.).
The secondary colors are named as such because they are shades resulting from the combination of two primary colors. For example, yellow comes from the combination of red and green, cyan from the combination of green and blue and the magenta results from the combination of blue and red. You can see this better in the following picture.

The basic and most important settings concerning the picture quality of your laser TV can therefore be summarized as follows
Brightness & Contrast: Adjusting the black and white levels
Gray Scale & Gamma: Adjusting the shading and brightness of the gray tones between white and black
Colors: Adjusting the hue, saturation and brightness of primary and secondary colors
In our next article here on the AWOL Vision Blog, we will analyze each of these parameters individually and provide guidance on how to better adjust them depending on the type of projection or the type of content we are viewing.
AWOL Vision
