


How to Create the Perfect Bedroom Projector Setup: A Step-by-Step Guide
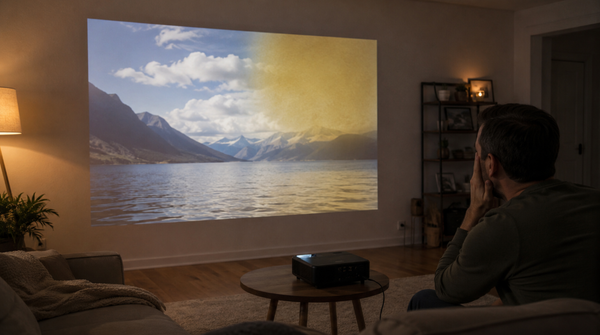
There’s a unique magic to watching a movie on a big screen, and the idea of bringing that experience into the comfort of your own bedroom is more appealing—and achievable—than ever. A projector can transform your personal space from just a place to sleep into a cozy, private cinema for relaxing evenings and lazy weekends.
Forget the bulky, complex setups of the past. Modern projectors are sleek, powerful, and surprisingly simple to install. This guide will provide you with a clear, practical roadmap to creating the perfect bedroom projector setup, covering everything from choosing the right model to hiding the cables for a clean, professional look.
First, Why Choose a Projector Over a TV for Your Bedroom?

While TVs are a familiar staple, a projector offers distinct advantages that make it uniquely suited for the bedroom environment.
Immersive Scale and a True Cinema Feel

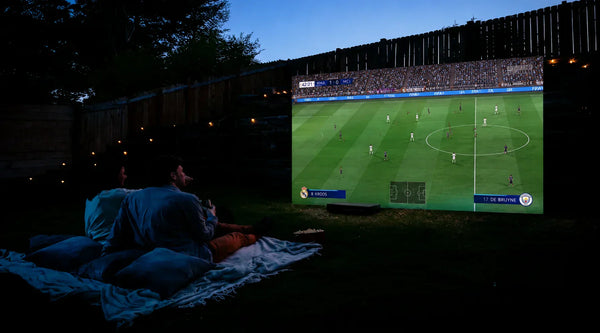
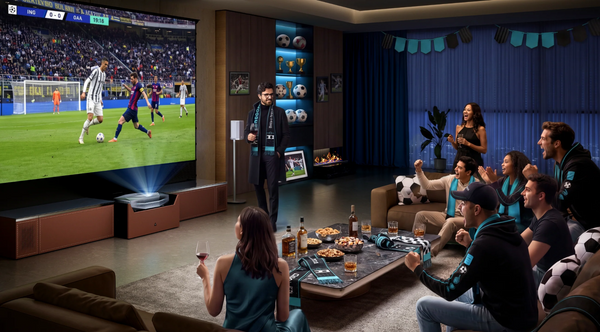
The most obvious benefit is screen size. A projector can easily create a massive 100-inch or even 120-inch image, something that would be physically overwhelming and financially impractical with a television. This scale turns a simple movie night into an immersive event, filling your field of view and pulling you into the story.
Preserve Your Room’s Aesthetic
A bedroom should be a serene, relaxing space. A large, black television screen can dominate a wall, acting as a visual focal point even when turned off. A projector setup, however, is far more minimalist. When you’re not using it, the "screen" is just your wall, or it can be retracted completely out of sight into a discreet housing on the ceiling or floor, preserving your room’s intended decor.
Eye Comfort in Dim Lighting

Staring at a bright TV in a dark room can often lead to eye strain. Projectors create an image by reflecting light off a surface, which is then viewed by your eyes. This indirect, reflected light is often perceived as softer and more natural than the direct, emissive light of a TV, making it a more comfortable option for long viewing sessions at night.
Selecting the Best Projector for a Bedroom Environment
Choosing the right projector comes down to understanding a few key features that are critical for a bedroom setup.
Throw Distance: The Most Important Choice
"Throw distance" simply means how far the projector needs to be from the screen to create a certain image size. This is the most important decision you’ll make when comparing long-throw, short-throw, and ultra-short-throw (UST) projectors.
- Long-Throw: The traditional option, placed on a shelf or mounted on the ceiling at the back of the room, and "throws" the image across the space. It works well but can require more complex installation and cable management.
- Short-Throw: These models can create a large image from just a few feet away, making them a great fit for smaller bedrooms where space is limited. They can often be placed on a small table or cart.
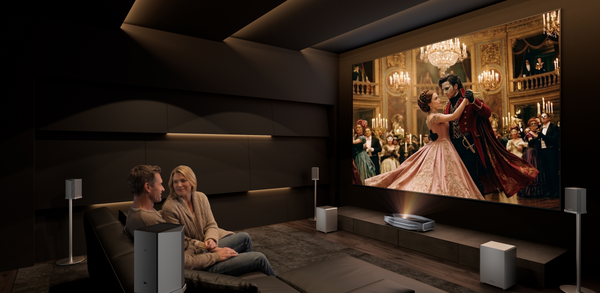
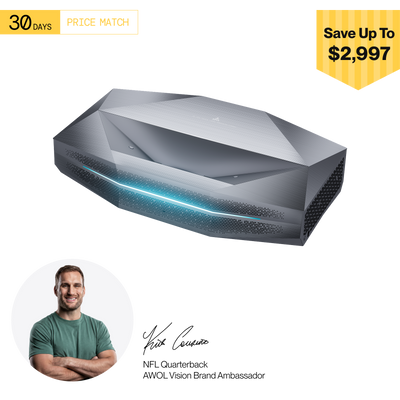
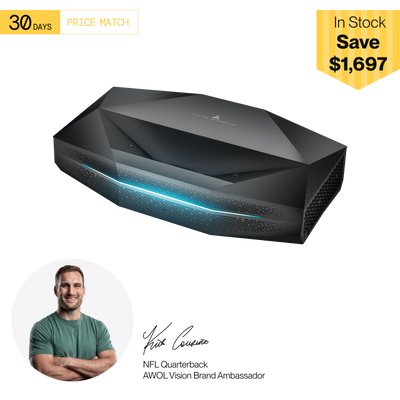
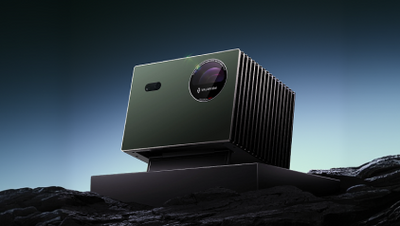
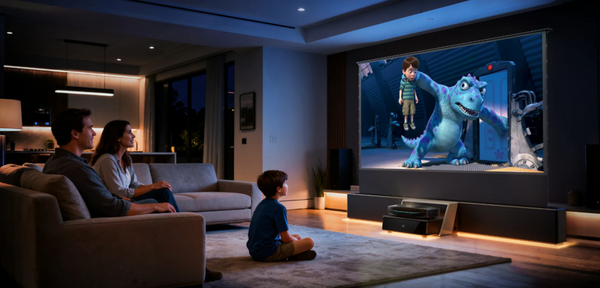
- Ultra-Short-Throw (UST): This is the premium, modern solution for a clutter-free setup. A UST projector sits on a console directly underneath the wall and projects the image up at a steep angle. It eliminates the need for any ceiling mounts or long cable runs, making it the simplest and most elegant choice. A premium model like the AWOL Vision LTV-3500 Pro, for instance, perfects this simple placement while packing in high-end features, delivering a true all-in-one cinema experience.
Key Picture Quality Specs to Look For
- Resolution: While 1080p still provides an excellent, sharp image, upgrading to a 4K projector is becoming the new standard for an immersive and future-proof setup.
- Brightness: This is crucial. Projector brightness is measured in ISO lumens. For a bedroom with good light control, 800-1,500 ISO lumens is often ideal. For rooms with some ambient light, look for 2,000-3,500 ISO lumens.
- HDR Support: To get the best color and contrast, ensure the projector supports modern standards like HDR10+ or Dolby Vision.
A Note on Image Correction: Lens Shift vs. Keystone

In a perfect world, your projector is perfectly centered with the screen. When it's not, the image can become trapezoidal. There are two ways to fix this:
- Digital Keystone: This digitally reshapes the image. While convenient, it should be a last resort. The process degrades the picture by compressing pixels, which reduces sharpness and detail.
- Lens Shift: This is a superior, mechanical feature found on higher-quality projectors. It lets you physically move the lens inside the projector to shift the image up, down, left, or right without any loss in quality. A projector with Lens Shift gives you enormous flexibility in where you can place it.
A Note on Gaming in the Bedroom
If you plan to use your projector for gaming, one feature is non-negotiable: a low-latency "Game Mode." This mode reduces the delay between you pressing a button on your controller and seeing the action on screen, which is essential for responsive and enjoyable projector gaming.
Your 4-Step Guide to Setting Up the Projector
With the right projector chosen, it’s time for the fun part. Here’s how to bring it all together.
Step 1: Find the Perfect Placement
Based on your projector’s throw type, choose one of these three main options. When planning your screen position, aim for proper ergonomics. The ideal height places the viewer's eye level at roughly one-third of the way up from the bottom of the screen. This allows you to view the entire image comfortably without craning your neck. Once you've set your screen position, all other placement calculations will follow from there.
- Shelf or Bookcase: Ideal for long-throw projectors, a high shelf at the back of the room is a simple placement solution. Just ensure there is enough ventilation around the projector.
- Ceiling Mount: This provides a permanent, professional installation for long-throw projectors and keeps the device completely out of the way. It requires a bit more DIY work but results in a very clean look.
- Media Console: The standard for UST projectors. Simply place a low console or cabinet against your chosen wall and set the projector on top. This is by far the easiest and fastest method.
Step 2: Choose Your Viewing Surface: Screen vs. Wall
- Wall Projection: This is the most cost-effective and minimalist option. If you have a smooth, solid-colored, light neutral wall (white, light gray, beige), you can get a surprisingly good image by projecting directly onto it.
- Projector Screen: For the best possible image quality, choosing a projector screen vs. a wall is the way to go. A screen’s surface is specifically designed to reflect light uniformly, which improves color accuracy, contrast, and brightness. An Ambient Light Rejecting (ALR) screen is an excellent choice for rooms with some ambient light. For the ultimate minimalist setup, a motorized floor-rising screen provides a perfect surface that appears only when needed. A high-quality example of this technology can be seen in the AWOL Vision Cinematic+ ALR screen.
Step 3: Plan for Clear Audio
A simple soundbar is the best audio upgrade for most bedrooms. When choosing one, look for a model with an HDMI ARC (or eARC) input. This technology allows a single HDMI cable to handle both video and audio, dramatically simplifying the process of connecting your soundbar to a 4K projector. You can connect your streaming stick to the soundbar, and then run a single HDMI cable from the soundbar to the projector.
Step 4: Manage Cables for a Clean Look
Visible, tangled cables can ruin the aesthetic of your setup. Plan ahead to keep them tidy. For ceiling mounts, use paintable cable raceways to hide the power and HDMI cords along the ceiling and wall. For shelf or console setups, use cable sleeves or ties to bundle cords together and run them behind furniture for a clean, organized appearance.
Final Touches for the Cozy Cinema
With the technical setup complete, a few small details can elevate the entire experience.
The Easiest First Step to Picture Perfection
Before you touch any individual settings, the most important adjustment is to change the Picture Mode. In your projector's menu, switch the default mode from "Standard" or "Vivid" to "Cinema," "Movie," or "Filmmaker Mode." These presets are designed to show the film with the most accurate colors and contrast, just as the director intended. This single change will provide the biggest improvement in picture quality.
Controlling Ambient Light
Even the best projector benefits from a dark room. Installing a set of blackout curtains is one of the single best upgrades you can make. They are inexpensive and will dramatically improve the contrast and richness of the image, especially for daytime viewing.
Creating a Comfortable Viewing Area
This is your personal cinema, so make it comfortable! Pile on extra pillows and blankets, and make sure you have a convenient spot to place your drinks and snacks. The goal is to create a space you can’t wait to settle into at the end of the day.
Conclusion
Creating a stunning and immersive bedroom cinema is easier and more accessible than ever before. By choosing the right type of projector for your space, planning your placement, and paying a little attention to sound and cable management, you can build a relaxing personal escape. Now you’re ready to dim the lights, grab the popcorn, and enjoy the show.

Be the First to Know
Subscribe for special deals, news, and important product information, and get your exclusive $50 discount.
Related Articles
The Summer of Soccer Is Here — Is Your Backyard Ready?
The Ultimate Guide to World Soccer Match 2026
Projector Shelf: How to Choose, Install, and Get the Best Picture
Projector Discoloration: Causes, Symptoms, and Fixes
Home Theater Lights: 7 Ideas to Set the Perfect Cinematic Mood