


Enjoy Your March Madness Watch Party

Everything You Need in One Place


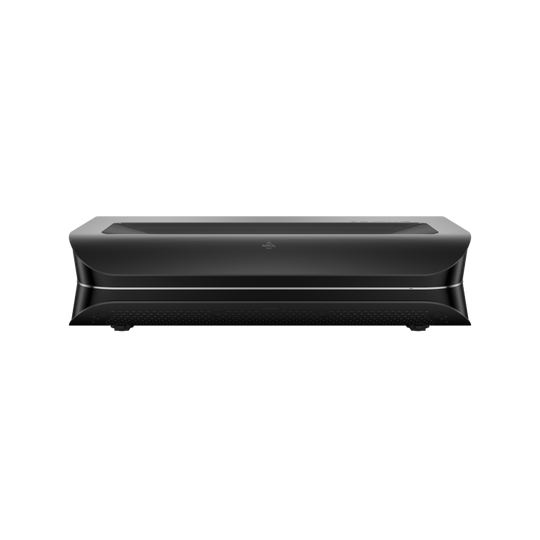
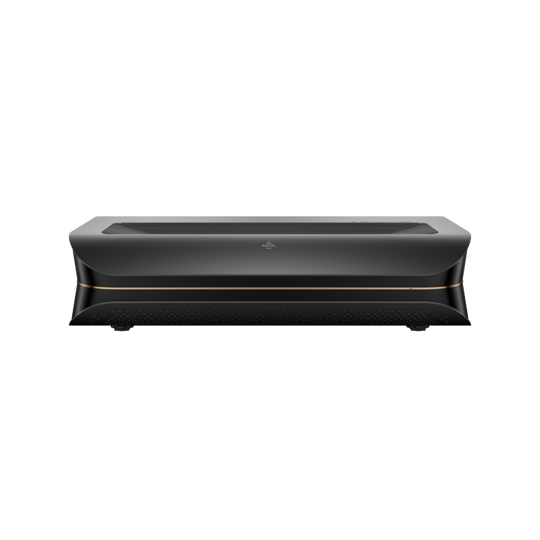
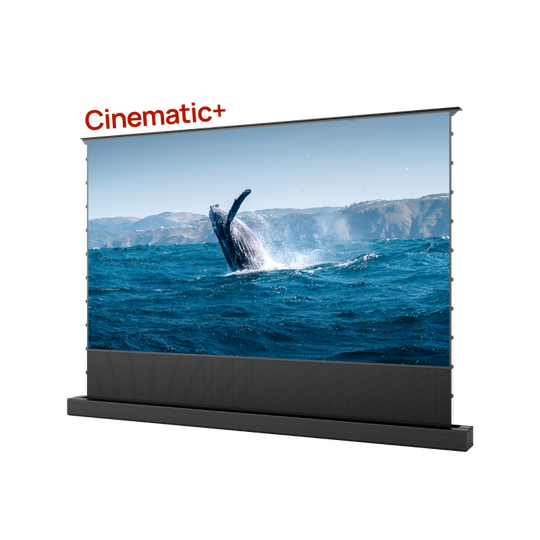
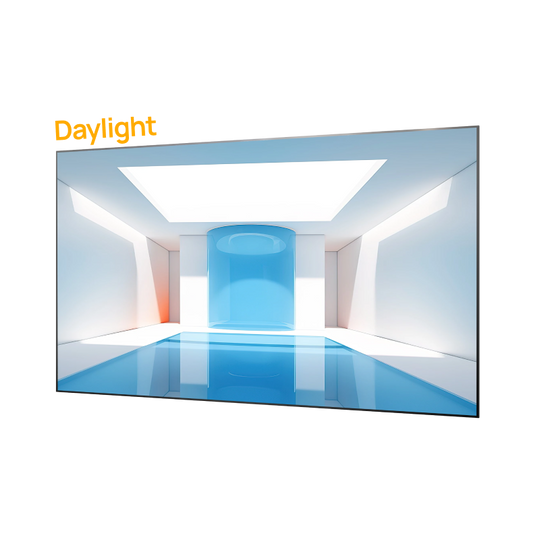
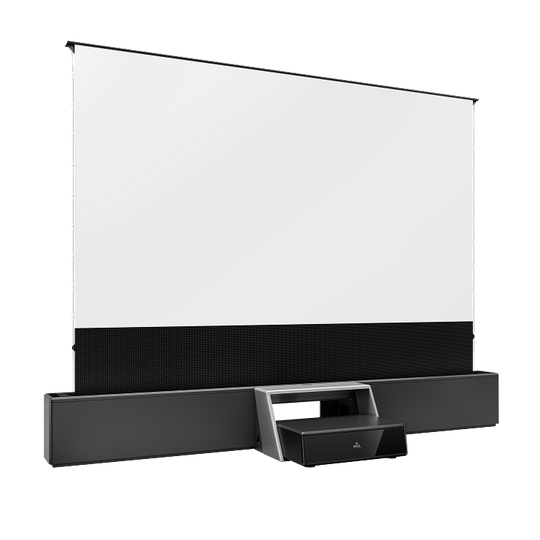
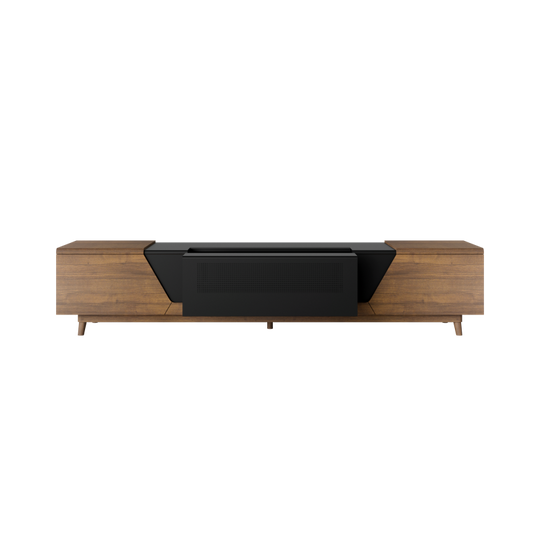
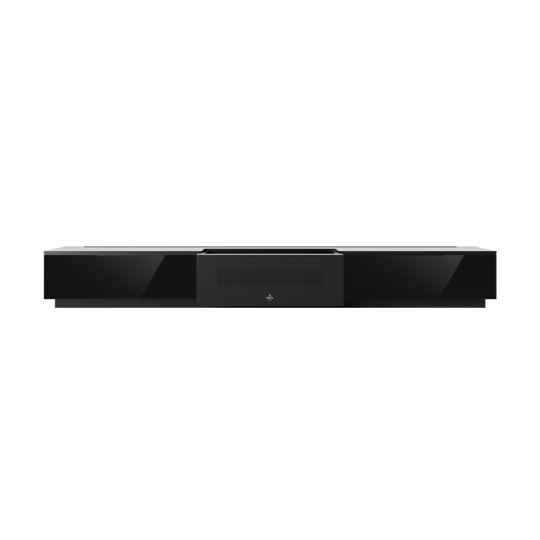
LTV-3000 Pro Plus 100''-130'' AWOL Vision Acoustic ALR Floor Rising Screen Bundle
$4,049.00
/
$5,698.00


Feel new, pay less!

