










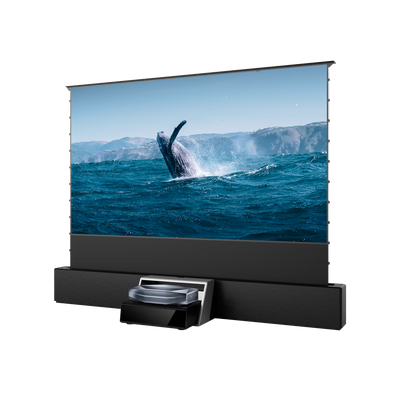
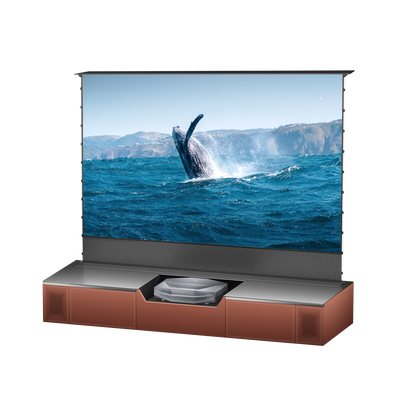
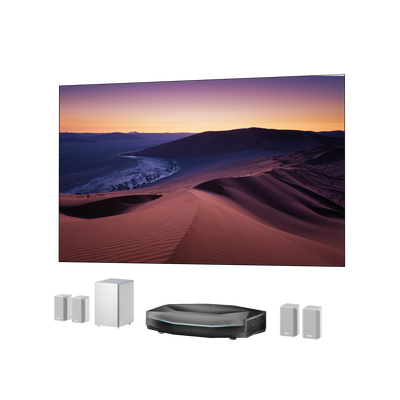


Rear Projection Screen Guide: Best Materials Options
Imagine a projection setup where no one ever casts a shadow on the screen, messy cables are completely hidden, and the picture remains remarkably crisp even with the lights on. This is the exact engineering advantage of a rear projection screen.
Whether you are designing a sleek home theater, setting up an outdoor movie night, or engineering a temporary stage backdrop, choosing the correct screen material is the single most important factor dictating your image quality. This comprehensive guide will break down the mechanics of rear projection, analyze the essential technical specs you need to know, and review both professional and budget-friendly DIY materials to help you build the perfect display.
What is a Rear Projection Screen?

To understand rear projection, it helps to look at the traditional setup we see in local cinemas. In a standard front projection system, the projector and the audience sit on the exact same side of the screen. Light travels from the projector, hits an opaque fabric, and bounces directly back into the viewers' eyes.
Conversely, a rear projection screen relies on transmission rather than reflection. The projector is placed behind a specialized, semi-translucent screen, shooting light forward through the material toward the audience.
Key Benefits of Rear Projector Screen
Placing your hardware behind the curtain unlocks several distinct optical and spatial advantages:
- Zero Audience Obstructions: Because the entire light path is contained behind the screen, presenters can walk right up to the display, and guests can get up for a drink without casting giant, distracting silhouettes across the image.
- Superior Ambient Light Management: Front projection screens are notorious for absorbing overhead ambient light, which instantly "washes out" black levels. Rear projection screens excel at passing rear-targeted light directly to the audience while letting stray ambient room light diffuse cleanly away, preserving deep contrast.
- Streamlined Aesthetics: All noisy cooling fans, dangling cords, and bulky media players are tucked neatly away out of sight, leaving a clean, television-like facade for your viewing area.
What to Consider Before Buying a Rear Projector Screen
Before investing in any fabric, you must evaluate a few non-negotiable optical metrics. Treating these specs as your fundamental buying guide will prevent an expensive mismatch between your projector and your environment.
Screen Gain and Viewing Angle
Screen Gain measures a material's reflectivity or transmittivity compared to a standard white reference board. A screen with a 1.0 gain transmits light with equal brightness across a wide area. Higher gain screens (e.g., 1.5 to 2.0) channel the light into a narrower, tighter beam, making the image look incredibly punchy from dead-center.
However, high gain comes at a cost: it aggressively shrinks your viewing angle. If your audience is spread out across a wide patio or a broad living room, those sitting on the outer edges will experience a massive drop-off in brightness. For multi-angle seating, stick closer to a unified 1.0 gain.
The "Hot Spotting" Nightmare (And How to Avoid It)

Hot spotting happens when the center of the screen looks much brighter than the edges. In severe cases, viewers may see the projector’s light source as a bright glare behind the image.
This usually happens when the screen material is too thin, too transparent, or not designed to diffuse light evenly. It can also happen when the projector is too close to the screen or aimed directly into the audience’s line of sight.
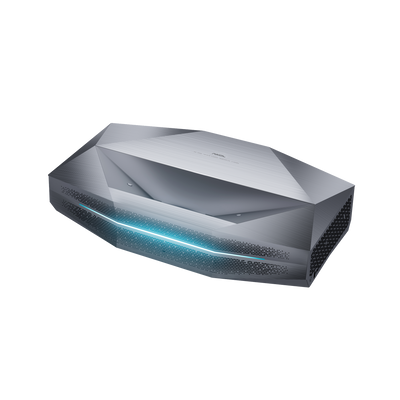
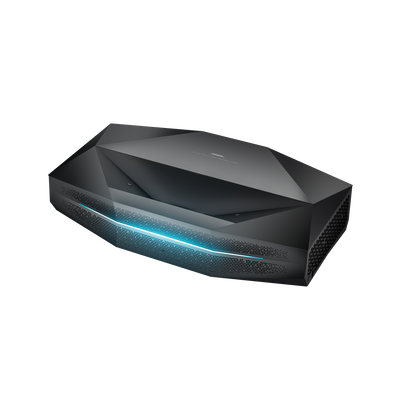
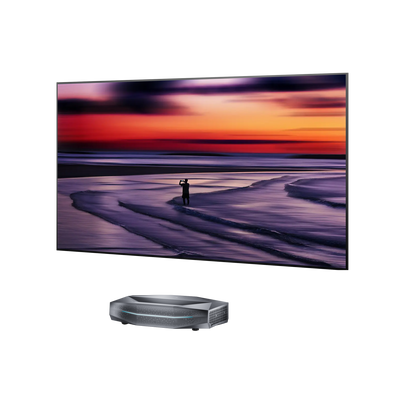
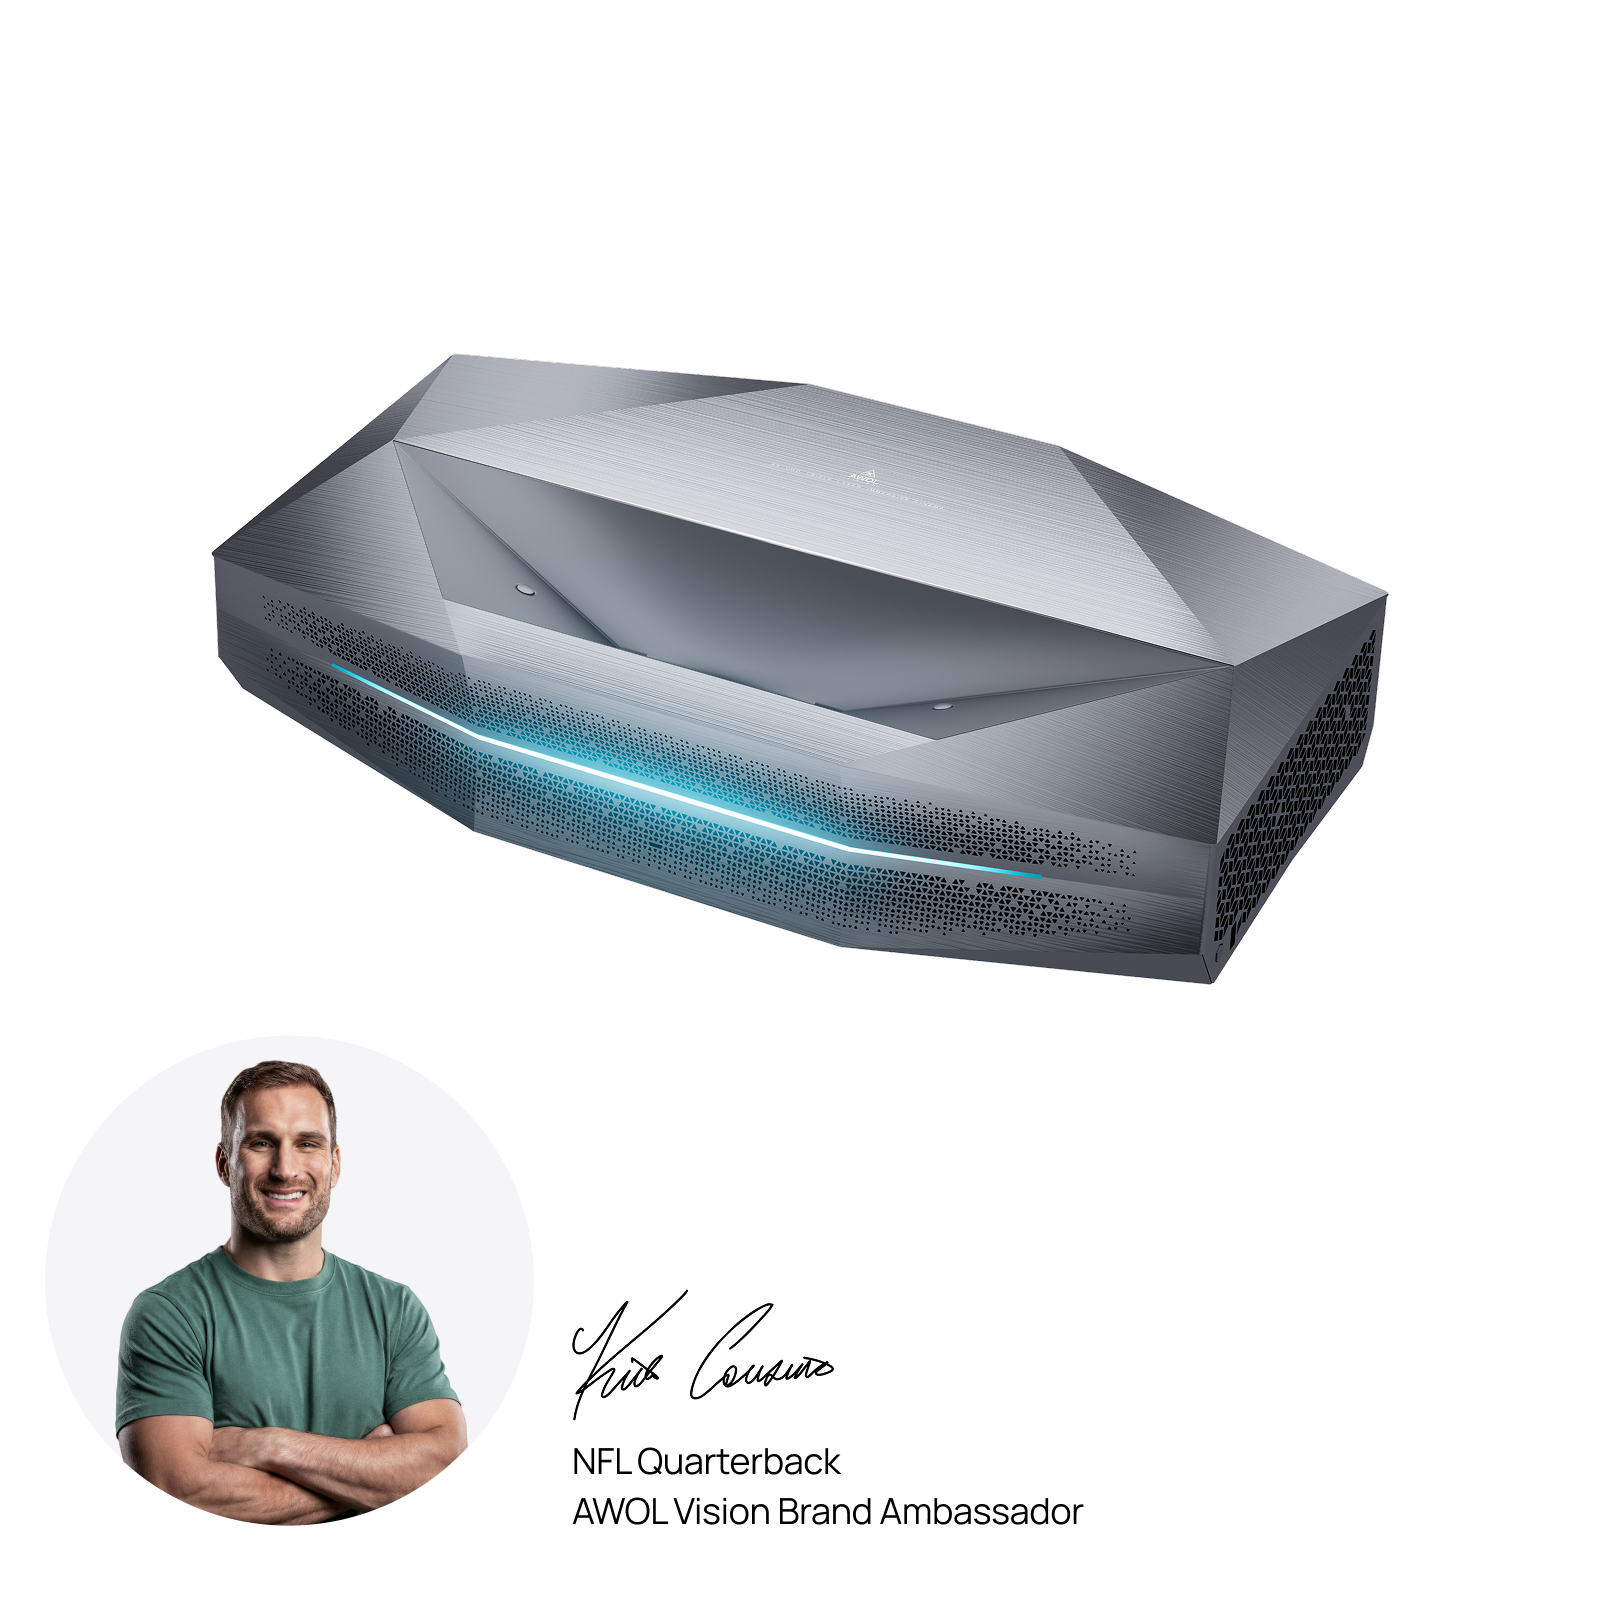
To reduce hot spotting, choose a rear projection screen material with proper diffusion and avoid overly transparent DIY fabrics for serious viewing. If space is limited behind the screen, a UST projector such as AWOL Vision Aetherion Max can help create a more compact rear projection layout. Just make sure the screen you choose is specifically designed for rear projection and clearly supports UST projection, since standard rear projection materials may not handle the steep light angle correctly.
Color Choice: White vs. Gray Rear Projection Fabric
The color of your translucent material drastically alters your final image:
- White Fabrics: Prioritize pure color accuracy and maximum brightness. They are ideal for strictly dark environments or controlled home theaters where you want every lumen of your projector to pop.
- Gray/Contrast Gray Fabrics: These are the gold standard for high ambient light. Gray tints naturally absorb stray room light and help resolve much deeper black levels, making them mandatory for daytime commercial window displays or outdoor twilight screenings.
For a deeper comparison, see our guide to gray vs. white projector screens.
What screen material is best for rear projection?

The best rear projection screen depends on your space, budget, and viewing environment. A permanent home theater will not need the same material as a Halloween window display, and an outdoor movie screen will have different requirements from a retail storefront.
In general, the best rear projection screens use semi-translucent materials that can transmit light from behind while diffusing it evenly across the viewing surface.Below are the most common rear projection screen materials and where each one works best.
Flexible Semi-Transparent PVC: Best for Home Theater and Event Use
Flexible PVC is the absolute benchmark for professional applications. This material is manufactured by embedding microscopic diffusion crystals directly into a flexible vinyl substrate.
It yields incredible structural uniformity, zero hot-spotting, and stunning high-definition color reproduction. Because it is highly elastic, it can be stretched perfectly taut over fixed frames or seamlessly integrated into high-end motorized drop-down assemblies.
Rigid Acrylic & Glass Screens: Best for Window Displays
For retail storefronts, corporate lobbies, or high-traffic interior designs, rigid substrates rule supreme. These systems are created by factory-laminating an optical rear-projection film directly onto a heavy-duty sheet of plexiglass, acrylic, or tempered glass.
Rigid screens are entirely immune to wrinkles, wind distortion, or sagging. Furthermore, high-end optical glass can be engineered to be completely dark when turned off, creating a jaw-dropping high-contrast display the moment the projector fires up.
Bi-Directional (Dual-Purpose) Fabrics: Best for Outdoor Movies
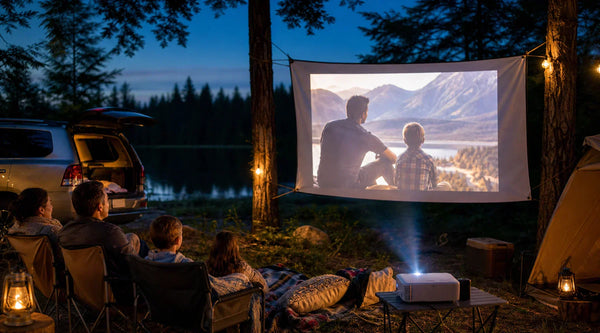
For portable backyard entertainment, flexibility is key. Manufacturers often offer dual-frequency fabrics explicitly engineered to handle both front and rear projection seamlessly.
These fabrics are woven from semi-translucent polyester fibers that split the light path evenly. They are perfect for outdoor pop-up frames or inflatable screens, allowing you to instantly adapt your projector positioning based on whether you are sitting by the patio or lounging closer to the pool.
Budget-Friendly DIY Rear Projection Screen Materials
If you are building a temporary setup, planning a Halloween window display, or working with a limited budget, you do not always need a professional screen. Some simple household and craft materials can work surprisingly well for casual rear projection use, as long as you understand their limits.
White or Gray Spandex
Spandex is one of the most popular DIY rear projection materials because it stretches smoothly over a wood or PVC frame. When pulled tight, it helps reduce wrinkles and sag, creating a cleaner viewing surface than many loose fabrics.
Its fine weave also diffuses light relatively well, which can help reduce harsh hot spots and provide a wide viewing angle. White spandex is better for brightness, while gray spandex can improve perceived contrast if your projector is bright enough.
Frosted Shower Curtain Liners
A frosted vinyl or PEVA shower curtain liner is a cheap and easy option for quick rear projection setups. It is often used for Halloween window projections, holiday effects, or casual backyard experiments.
The frosted surface helps spread the light better than clear plastic, but thinner liners may still show mild hot spotting if the projector is too close. This material is best for temporary displays rather than serious movie watching.
White Coroplast Plastic Sheets
White coroplast is a lightweight, fluted plastic sheet often used for yard signs and event boards. Its translucent structure allows some light to pass through while helping soften the projector beam.
It is rigid, affordable, and easy to cut into panels, making it useful for temporary stage backdrops, school projects, event displays, or projection mapping. However, the fluted texture may be visible up close, so it works better for large visuals than detailed home theater images.
Conclusion: Which Rear Projection Setup Wins Your Space?
Ultimately, the best rear projection screen material comes down to a careful calculation of your budget, your environment, and your performance expectations.
- If you are mapping out a permanent home theater or commercial venue, invest in a premium Flexible Gray PVC screen to guarantee flawless contrast and color fidelity.
- If you are organizing frequent outdoor events or community movie nights, prioritize a durable, portable Bi-Directional cloth screen to stay safe from audience foot traffic and wind.
- If you love to tinker, experiment, or need a fast holiday display, grab a roll of matte spandex or a frosted vinyl liner and start building.
By matching your ambient light to the right fabric color, respecting your viewing angles, and eliminating hot spots with smart layout design, you will unlock a stunning, shadow-free viewing experience that standard front projection simply cannot match.
Rear Projection Screen FAQs
Can you use any projector for rear projection?
Most projectors can technically be used for rear projection if they have a rear projection, mirror, or image flip setting. However, the final result depends on the screen material, projector brightness, throw distance, and available space behind the screen.
Do you need a special screen for rear projection?
Yes. A rear projection setup needs a semi-translucent screen material that allows light to pass through from behind while diffusing it evenly toward the viewer. A standard front projection screen is usually designed to reflect light, not transmit it.
How much space do you need behind a rear projection screen?
It depends on your projector’s throw ratio and screen size. Standard throw projectors usually need more space, while short-throw and ultra-short-throw projectors can reduce the required distance. Always check the projector’s throw distance before buying the screen.
Can a UST projector work with a rear projection screen?
Yes, but only with a rear projection screen material that clearly supports UST projection. Ultra-short-throw projectors send light at a steep angle, so a standard rear projection screen may cause hot spotting, uneven brightness, or image distortion.
Is rear projection better than front projection?
Not always. Rear projection is better when you need to hide the projector, avoid shadows, or allow people to stand in front of the screen. Front projection is usually easier to set up and more practical for many standard home theater and outdoor movie setups.
Be the First to Know
Subscribe for special deals, news, and important product information, and get your exclusive $100 discount.
Related Articles
Upgrade Your UST Setup: Is AWOL LuxVision Right for Your Room?
Black Projector Screen: Is It Right for Your Room?
WiFi Projector Buying Guide: Features That Actually Matter
How to Create a Modern Living Room with an Ultra Short Throw Projector Cabinet?
How Many Lumens for an Outdoor Projector?