













Projector Screen Paint: Is It Worth Painting Your Wall?
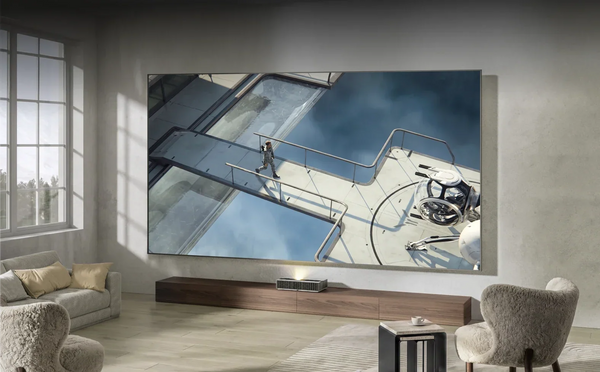
Projector screen paint can turn a prepared wall into a permanent projection surface. It makes sense when you want a clean wall without a visible screen frame and can invest time in a smooth finish. Whether it improves your picture enough to justify the expense depends on the coating, room lighting, and wall underneath.
Before buying a can, identify what bothers you about your current image. A color cast, visible wall texture, and washed-out daytime viewing are different problems. Paint alone will not solve all three.
What Can Projector Screen Paint Actually Improve?
Unlike decorative wall paint, projection coatings are formulated for displaying images. Depending on the product, they target particular reflective properties, neutral color reproduction, or viewing conditions. There is no single performance standard shared by everything labeled “projector paint.”
A smooth wall finished with ordinary flat white paint can already produce a watchable image in a darkened room. Specialty paint may offer an improvement, but the label alone does not tell you how noticeable that improvement will be.
Judge the result in the lighting you normally watch in. A painted surface that looks convincing during a late-night movie may look washed out with the curtains open or ceiling lights on. Keep the image size and projector settings consistent when comparing surfaces so you can see what the paint actually changes.

White, Gray, or Black Projector Paint?
White is a practical starting point when preserving brightness matters, especially for nighttime viewing. With ordinary wall paint, choose a neutral flat finish rather than satin or gloss. For a specialty coating, follow its own specifications instead of choosing by sheen name alone.
Gray can make dark areas look darker, but it also reduces reflected image brightness unless other optical properties compensate. The useful question is whether you still like bright scenes, skin tones, and shadow detail at your intended image size.
Black projector screen paint demands closer evaluation. A dramatic black background in a demonstration does not show whether whites remain bright enough or the image looks even from your couch. Ask for a sample before committing to a large wall.
Before You Buy: Test the Picture and Price the Whole Job
Start by projecting onto your existing wall at the size you actually want. Watch during your normal viewing hours. This reveals whether your priority should be changing the surface, controlling light, or repairing the wall.
For example, if the picture looks good after sunset but fades during afternoon sports, test curtains or blinds first. If lines bend in the same places regardless of the scene, investigate the wall's flatness before shopping for a different paint.
If samples are available, coat a smooth rigid panel using the manufacturer's specified preparation. Position it in the projection plane and compare it with your wall using the same projector settings. Check:
- Bright scenes: Are whites bright and neutral, or dull and tinted?
- Dark scenes: Can you still distinguish clothing, faces, and background detail?
- Uniform areas: Do skies reveal streaks, sparkle, or a bright patch?
- Different seats: Does the picture change noticeably when you move sideways?
A small sample helps assess color and finish; it cannot prove that a full painted wall will be flat or uniformly coated.
Then compare complete project costs. Include paint coverage for every required coat, any specified primer, filler or skim coating, sanding materials, application tools, floor protection, and labor. Include rework if you are hiring someone to correct existing texture.
Price a same-size screen alongside that total. Painting may still be preferable because it preserves the room's appearance or accommodates a custom area. Make that an informed choice rather than assuming a can of paint is the cheaper finished solution.
How to Paint a Projector Screen Without Making the Wall the Problem
Surface preparation determines whether the coating has a suitable foundation. Paint changes the finish; it does not straighten a bowed wall or remove drywall seams. Ridges and uneven patches that barely show in everyday room lighting can become distracting across a projected image. If you hire a contractor, explain that the wall will be used for projection and agree on the preparation needed before painting begins.
1. Set the projector position first. Establish your image size and placement before marking the painted area. Check furniture clearance and viewing height so you do not finish a rectangle that later needs to move.
2. Inspect both texture and flatness. Shine light across the wall to reveal ridges and repairs, then project a grid and a plain bright image. A surface can feel smooth while still having broad waves. Address the defect you actually find.
3. Prepare the surface for the specific coating. Repair imperfections, remove dust, and follow the manufacturer's substrate and primer instructions. Some systems require particular preparation or multiple coating layers. Do not assume a generic primer or an extra topcoat is compatible.
4. Apply the specified coats evenly. Use the recommended roller or spray method, coverage rate, and recoating interval. Avoid improvising with metallic additives or decorative clear coats. Those changes can alter the finish you selected.
5. Allow curing, then inspect from your seats. Dry-to-touch and fully cured are not necessarily the same. Follow the product's timing before judging the final picture or attempting cleaning. Recheck subtitles, sports fields, and slow camera pans for distracting surface marks.
A dark border is optional. It can define the picture area and hide small alignment overspill, but it will not correct uneven reflection or washed-out images. If an uninterrupted wall is your goal, assess the result without a border first.
For other build options, including a framed surface, explore our DIY projector screen guide.

Does Projector Screen Paint Work With UST Projectors?
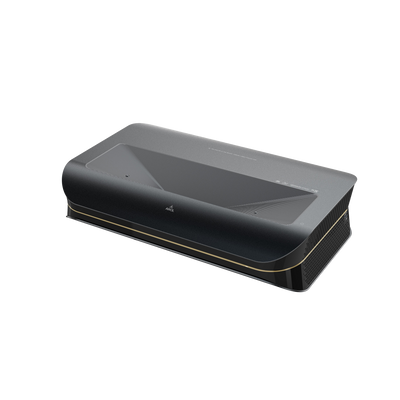
It can, provided the coating suits ultra-short-throw projection and the surface is sufficiently flat. UST projectors send light upward from close to the wall, making surface irregularities particularly noticeable.
Some paint manufacturers offer UST-specific coatings. Check compatibility with your projector and request application guidance or a sample. “4K compatible” alone does not establish UST suitability, and a higher advertised gain is not automatically a better match.
Also distinguish darker paint from directional light control. Darkening a surface can reduce both unwanted light and the projected image. A purpose-designed UST ALR screen uses an optical surface to manage light according to its direction. Do not assume an “ALR paint” label means the same performance as a structured screen; examine the product's evidence and test conditions.
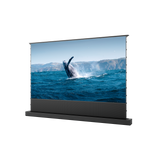
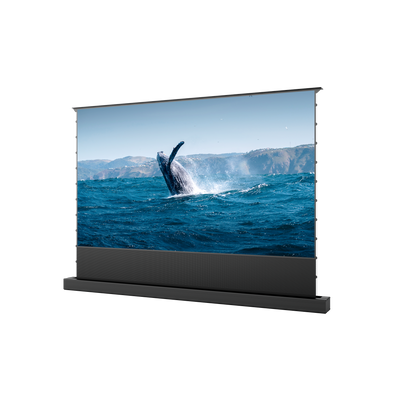
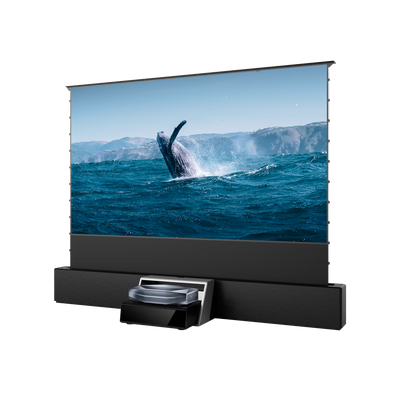
If you watch with room lights on, our AWOL New Gen Daylight ALR Screen is an alternative worth comparing. It is designed for UST projectors and uses Fresnel optics to reduce interference from overhead and side lighting. Match its viewing angle and installation requirements to your room, and still keep direct sunlight off the image area.
Our UST projector screen buying guide explains the screen-selection considerations in more detail.
Projector Screen Paint FAQs
Is projector screen paint better than regular white paint?
It can be, but the result depends on the formula and your setup. Compare samples for color, brightness, and uniformity. On an already smooth white wall in a dark room, the improvement may be less compelling than expected.
Can projector paint cover a textured wall?
It can coat the surface, but that does not remove the texture. Prepare the wall first or use a separate smooth surface. More coats are not a substitute for flattening ridges or repairing seams.
How much paint do I need for a 120-inch screen?
For a 16:9 image, a 120-inch diagonal is approximately 104.6 inches wide by 58.8 inches tall, or 42.7 square feet. Check whether the manufacturer's coverage figure describes one coat or the completed coating system before calculating quantity.
Can I paint an existing projector screen?
Only if both the screen and coating manufacturers confirm compatibility. A new coating can change reflection or interfere with a flexible or retractable surface. Do not treat an existing screen like ordinary drywall.
Be the First to Know
Subscribe for special deals, news, and important product information, and get your exclusive $100 discount.
Related Articles
7 Basement Home Theater Ideas with a Style of Their Own
A Projector in an Apartment: Make Room for the Screen, Not a Theater
Small Man Cave Ideas: 10 Activity-Based Setups for Limited Space
Frame TV Alternative: A Smarter Vision for the Living Room
How to Connect a Speaker to a Projector