


The Projector Halo Effect: Light Bleed, Overspill, and Focus Issues Explained
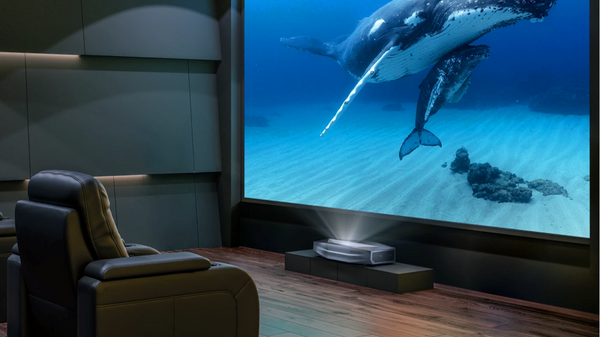
Setting up a home theater projector involves balancing two often competing factors: installation convenience and image fidelity.
When maximizing convenience—such as placing the projector at an angle or using software to fit the image to the screen—users often notice two distinct visual artifacts:
- The "Halo Effect": A glowing gray frame or border surrounding the active image.
- Soft Corners: A lack of sharpness in the corners of the screen, even when the center is perfectly focused.
These issues are rarely hardware defects. Instead, they are typically the result of specific setup configurations—primarily Digital Keystone Correction—or inherent characteristics of the projection technology itself.
This guide explains the technical causes of these artifacts and provides actionable steps to optimize your setup for the clearest possible image.
The Three Technical Causes of "Light Bleed"
If you see light extending beyond your screen frame, it usually falls into one of three categories. Identifying which one you have is the first step to mitigating it.
1. Digital Keystone Artifacts (The Gray Border)
This is the most common cause of "light bleed" in casual setups.
- The Mechanism: When a projector is placed at an angle, the image appears trapezoidal. Guide to Projector Keystone Correction explains that this feature fixes the shape not by moving the lens, but by resampling and remapping the image. It shrinks and warps the active video signal into a rectangle within the available projection area.
- The Result: The projector’s light engine is still illuminating the full chip area. The "unused" area outside your new rectangle is technically projecting "black," but because projectors cannot achieve absolute zero light output (due to the elevated black floor inherent in light engines), this area appears as a visible, dark gray trapezoid.
2. DLP Oversplash (The "Light Border")
- The Mechanism: Many consumer 4K projectors utilize DLP (Digital Light Processing) technology. As detailed in DLP Technology Today, the DMD chips inside these units often have a perimeter of unused micromirrors surrounding the active pixel area. To prevent internal damage, these mirrors reflect light away from the lens, but a small amount often escapes through the optical path.
- The Result: A noticeable, uniform band of light surrounding the active image area. This is a standard characteristic of DLP optical blocks. The width of this band varies depending on the projector's throw ratio and screen size, but it typically appears as a thin, consistent frame.
3. Chassis Light Leakage
- The Mechanism: Stray light escaping through ventilation grilles or seams in the casing. This is a sign of lower-cost manufacturing or poor internal light sealing, though it is becoming less common in premium laser models with sealed optical engines.
Digital Correction vs. Optical Alignment: Understanding the Impact
Modern projectors offer powerful digital tools to fit the image to your wall, but these tools come with technical trade-offs regarding resolution and focus uniformity.
The Role of Digital Keystone
- The Pros: Digital correction allows for flexible placement, essential for portable setups or rooms where physical mounting on the centerline is impossible.
- The Cons: To reshape the image, the processor must compress and warp the video signal. This disrupts the 1:1 pixel mapping, effectively reducing the total resolution available for the image.
The Consequence: Soft Corners
Heavily relying on digital correction is a primary cause of blurry corners. When an image is digitally warped, the projector lens is still physically focused on a flat plane. However, the digitally resampled image no longer aligns evenly across that focal plane. This creates "Focus Non-Uniformity," where the center of the image appears sharp, but text or UI elements in the corners appear soft or smeared because they are effectively being projected "off-axis" digitally.
The Hardware Solution: Why Lens Quality Matters

Even with digital correction disabled, the quality of the optical chain plays a significant role in edge-to-edge sharpness.
Thermal Defocus
Lower-cost optical systems often rely heavily on plastic elements. As the projector operates and generates heat, these elements—and the barrel holding them—can expand at different rates than glass. This physical change causes the focus to drift after 30–60 minutes of viewing, requiring the user to re-adjust the focus manually.
Because heavily relying on digital keystone is the primary cause of both the "Halo Effect" and soft corners, the ultimate solution is to physically align the projector and rely on superior glass.
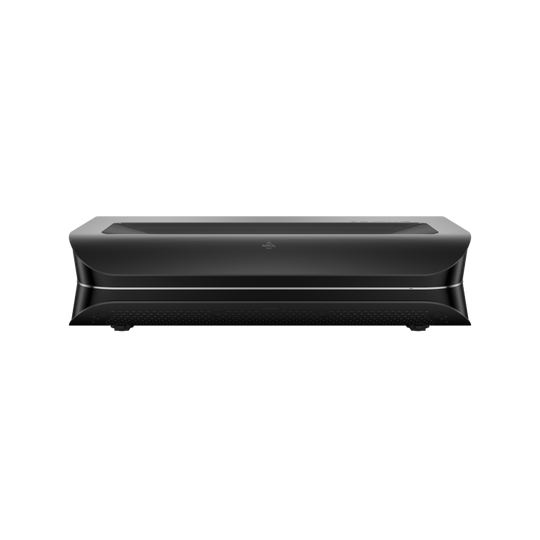
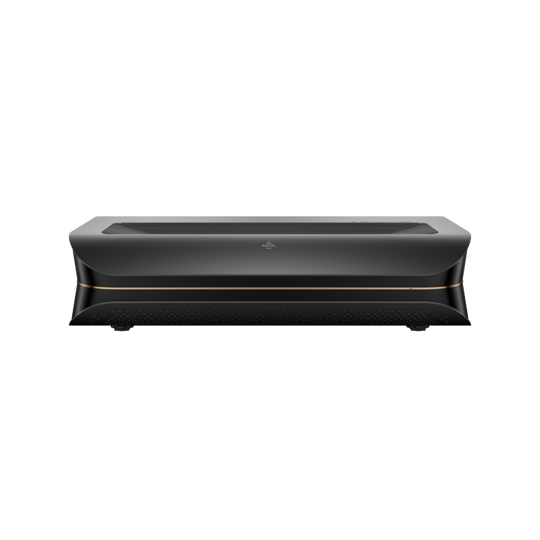
The Aetherion Pro Standard: Optical Precision
To minimize focus drift and support a sharper image, the Aetherion is engineered with a high-precision optical system designed for thermal stability.
- Sapphire-Based Optical Elements: To combat thermal expansion, the Aetherion Pro utilizes sapphire-based elements in key optical positions. These materials offer superior thermal stability compared to standard glass or plastic, helping maintain Pixel-level Clarity from the center to the corners even as the unit reaches operating temperature.
- PixelLock™ Engineering: This internal design philosophy focuses on mechanical lens retention. It reinforces the multi-element lens structure to minimize the micro-movements that can occur during thermal cycles, ensuring the pixel grid remains congruent.
- Titanium Thermal Management: High-grade titanium components are integrated into the optical assembly housing. These act as structural thermal buffers, stabilizing the optical path against heat-induced warping.
Mitigating the Halo Effect with Contrast

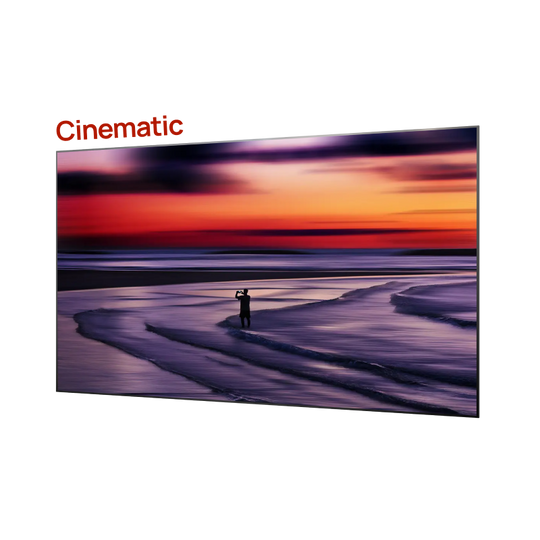
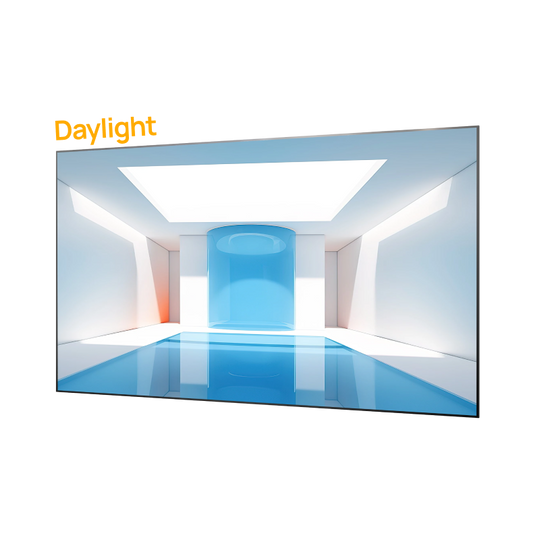
Even with a perfect physical setup, the "black floor" of the projector determines how visible the surrounding wall is. A projector with a high native black floor emits more light in "dark" areas, making the gray border (from Keystone or Oversplash) significantly more obvious during dark, atmospheric scenes.
While no projector can defy the physics of DLP light borders, the Aetherion Pro utilizes the Noirscene™ System II to manage how noticeable they are. By combining a high native contrast foundation with a 7-level dynamic IRIS, the system physically modulates light output based on the scene, achieving a dynamic range rated at 6,000:1. During darker scenes—when light bleed is traditionally most distracting—the system lowers the perceptible black floor, allowing any residual border to blend much more effectively into the darkness of the room.
How to Fix Projector Light Bleed and Blurry Corners
If you are currently experiencing gray borders or soft corners, try these optimization steps:
Step 1: Reduce Digital Correction
Check your geometry settings. If your Keystone or "4-Corner Correction" is set to a high value, try to reduce it. Instead of using the remote to warp the image, physically move or tilt the projector to align the image with the screen.
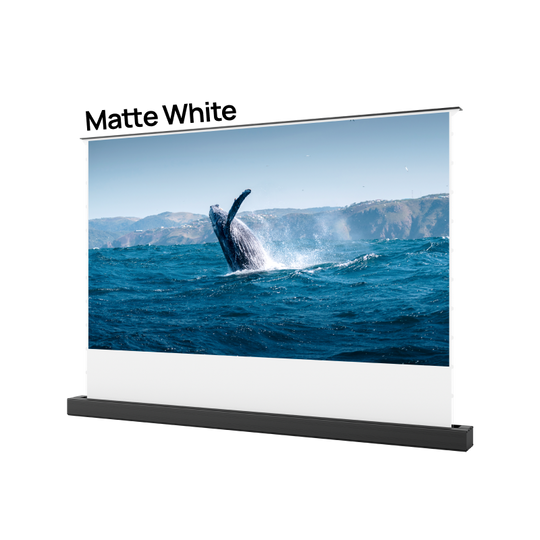
Step 2: Utilize a Light-Absorbing Screen Border
For the unavoidable DLP Oversplash (the thin uniform border inherent to the technology), the only true physical fix is a high-quality projection screen. The industry-standard solution is to select a screen with a black velvet bezel. Velvet is highly light-absorbent and effectively "soaks up" the excess oversplash, creating a crisp, hard edge for the image and completely masking the light border.
Step 3: Check Focus Uniformity
Display a grid test pattern (usually found in the projector's menu). If the corners are soft, ensure the projector is perpendicular to the screen. Relieving the lens of digital warping allows the optical focus to work as intended across the entire plane. For more tips on achieving the sharpest image, read our guide on How to Make Your Projector Clearer.
Conclusion: Achieving the Clearest Picture
While digital tools offer convenience for difficult installations, relying on them heavily introduces trade-offs in the form of light borders and image softness.
For the best visual experience, prioritize Optical Alignment (physical placement) over digital correction, and invest in hardware with thermally stable optics. The Aetherion is designed with these priorities in mind, offering the optical precision needed to deliver a sharp, 200-inch image without relying on digital compromises.

Be the First to Know
Subscribe for special deals, news, and important product information, and get your exclusive $50 discount.
Related Articles

What is a Smart Projector? (And Can It Replace Your TV?)

How Big is a 120-Inch Projector Screen? (Exact Dimensions & Room Guide)
Why Is My Streaming Video Quality So Bad? How to Fix Buffering and Blurry Movies

How to Use a Projector: A Beginner's Guide to Your First Setup

Roku vs. Firestick vs. Chromecast: Which Streaming Ecosystem Wins?
