


How to Make Your Projector Clearer: Expert Tips That Actually Work
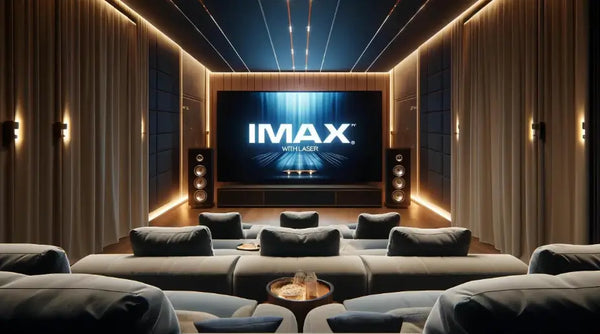
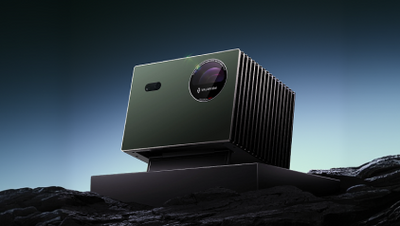
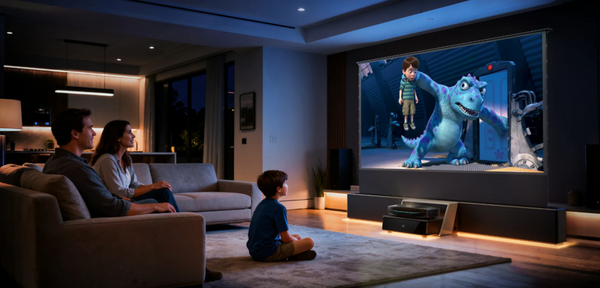
Projectors can create massive 120-inch viewing experiences that dwarf most flat-panel TVs. This immersive display can change your viewing experience completely, though many users end up with unclear images.
Dust on the lens and resolution mismatches often turn your home theater dream into a frustrating blur. Your projector's image quality might suffer from focus problems, screen surface irregularities, and too much keystone correction.
Getting crystal-clear projector images is simpler than you might think. The right adjustments can dramatically improve your viewing experience, whether you have a blurry picture or just want to optimize your setup.
Want to realize your projector's full potential? These proven techniques will help you get the sharp, clear image you've been looking for.
Prepare Your Viewing Space
You need the right lighting setup to create a perfect viewing environment. Room lighting can affect your projection quality a lot, especially light from windows, doors, and artificial sources. Blackout curtains will help you block outside light and get the best clarity. An ambient light-rejecting (ALR) screen will keep your images vibrant even when the room is bright.

Your eyes will thank you if you add some backlighting behind your screen for night viewing. It helps reduce strain during long viewing sessions. The distance between your projector and screen plays a role too - images get dimmer as the projector moves further back.
Control room lighting
Your projector needs different brightness levels as the day goes on. You'll want higher settings during daytime to keep images clear. Light management is a vital part of keeping image quality steady. Dimmer switches give you better control over your room's artificial lighting.
Choose ideal wall color
The projection surface color makes a big difference in image quality. Dark, matte colors are your best bet since they cut down on light bouncing that can wash out dark areas. Here are some specialized paint options for dedicated projection surfaces:
-
White projector paint (gain value 1.24) to get high-resolution images
-
Gray projector paint that gives better contrast and darker blacks
-
Light gray paint that works well in rooms with some ambient light
The paint finish is just as important as its color - stick to matte to avoid unwanted reflections. When you combine good lighting control with the right wall color, you'll get crystal-clear projector images.
Master Focus Settings
Getting the focus just right is essential for enjoying crystal-clear projector images! Modern projectors offer you a variety of ways to achieve that perfect focus. We can adjust it using manual controls or take advantage of the advanced auto-focus features available.
Manual focus techniques
The focus wheel proves to be the most reliable tool to get precise image clarity. You'll find it near the projector lens, where it lets you make fine-tuned adjustments until the image looks sharp. Here are the steps to get optimal results:
-
Let the projector warm up for 20 minutes before adjusting
-
Project a focus pattern or text onto your screen
-
Turn the focus wheel slowly while observing the center of the image
-
Fine-tune until text appears crisp and individual pixels become visible
Auto-focus features
Modern projectors use Time-of-Flight (ToF) technology to adjust focus automatically. This system calculates the exact distance between the projector and screen with LED or laser light, which then adjusts the lens to get optimal clarity. The ToF sensor needs just milliseconds to complete these calculations and ensures consistent image sharpness even if you move the projector.
Digital focus tools
Digital focus patterns are great tools to get precise calibration. These patterns show grid lines or test images designed specifically to adjust focus. The center of the screen should be your first focus point since it displays most of your content.
Some projectors let you adjust focus with a remote control, which helps you make precise changes from where you sit. Several models can even save focus settings for specific projection distances, so you won't need to keep adjusting.
Focus problems often have simple solutions. Your projector should sit parallel to the screen surface. If one side looks blurrier than the other, check how the projector lines up and adjust its position. The original step is to reset any keystone corrections because too much keystone adjustment can affect the overall image clarity.
Clean the Projector Lens
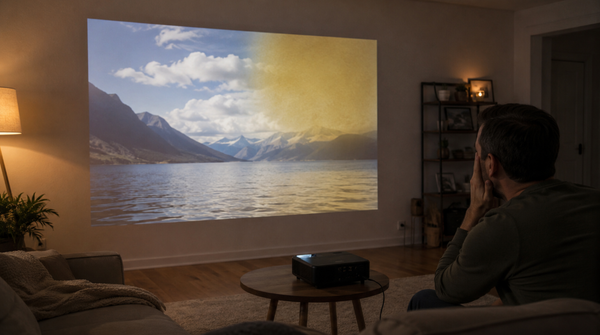
A clean projector lens is crucial. Imagine watching a movie through a foggy window—dust and smudges blur every detail. Gently wipe your lens with a soft microfiber cloth and lens cleaner to restore clarity. This simple step enhances image sharpness and ensures your projector delivers a crisp, vibrant display every time. For more tips about how to clean your projector lens, you can check this blog.
Use Advanced Picture Tools
Keystone correction helps you get rectangular images, especially when you have a projector that isn't perfectly arranged with the screen. This feature fixes distortions along vertical, horizontal, and rotational axes. Your displays stay crisp even in difficult setups.
The best results come from placing your projector as close to center arrangement as possible. You should adjust the physical placement first by moving it up, down, left, or right. After positioning, use keystone correction to fine-tune the image shape. You won't need much of either.
Keystone correction tips
Physical adjustments work better than extensive digital corrections to maintain image quality. The correction process scales and processes the image, which affects overall clarity. These guidelines are a great way to get the best results:
-
Start with vertical adjustments for top/bottom distortion
-
Use horizontal correction for side-to-side arrangement
-
Apply rotational correction only to fix corner misalignment
Modern projectors come with automated solutions that utilize Time-of-Flight (ToF) technology. This advanced feature measures distances faster and adjusts images automatically when the projector moves. You won't need manual calibration.
Note that too much keystone correction can cause subtle quality losses. The process uses fewer pixels to create the image and might soften the display. Physical positioning should be your first choice to minimize keystone adjustments.
Side projection setups benefit from 2D keystone correction when you place the projector next to a sofa. 3D keystone correction becomes crucial to fix diagonal or corner misalignments. Your images will look perfect whatever the projector's position.
Match Source and Display
The right projector display settings matched with your source device will give you the best image clarity. Full HD resolution works well for screens up to 40 inches. Screens larger than 100 inches need 4K UHD resolution to show better detail.
Set correct resolution
Your image sharpness depends on the right resolution settings. You can find the recommended resolution for your projector in your device's display settings. Modern projectors can handle many resolutions from 720p to 4K UHD and adapt to different types of content.
Pick the right input ports
The ports you choose will affect how good your viewing experience is. HDMI is your best option because it delivers high-quality digital video and audio signals. Here are the ports you need for the best connection:
-
HDMI - For high-definition video sources
-
DisplayPort - A modern alternative to DVI
-
USB - Plays media directly
-
Network port - Makes remote control and updates easier
You can use adapters if your devices have different ports. The secret is to pick cables that work with both your source device and projector.
Update firmware regularly
Your projector will work better and stay secure with regular firmware updates. These updates add new features, fix problems, and work better with different devices. You should set up a regular schedule to update your projector.
Remember to save your current settings before updating and let the update finish without interruption. It's smart to test new firmware on one device first to avoid any problems with compatibility. Good firmware maintenance keeps your projector running at its best with proper security.
Conclusion
Sharp projector images depend on several factors working together. Your viewing space needs good light control with blackout curtains and ALR screens. The right focus settings ensure crisp details across the screen.
Picture tools like keystone correction help create perfect geometry. The physical placement of your projector plays a crucial role in getting the best results. The source resolution must match your projector's native output, and keeping firmware up to date ensures peak performance.
Getting crystal-clear projector images is simpler than you might think. A few tweaks to your room setup, focus settings, and display options can make a huge difference in quality. Take it one step at a time - adjust, test, and fine-tune until the image looks just right.
These tried-and-tested methods unlock your projector's full potential and transform any room into an impressive home theater. You'll enjoy the clearest possible projection whether you're watching movies, giving presentations, or playing games.
FAQs About the Clarity of Your Projector
Q1. How can I improve the clarity of my projector's image?
To enhance image clarity, adjust the focus using the focus wheel or auto-focus feature, clean the lens regularly, and position the projector at the optimal distance from the screen. Also, ensure proper keystone correction and use the correct resolution settings for your content.
Q2. What are some tips for optimizing my projector's viewing environment?
Control ambient light using blackout curtains or an ALR screen. Choose a dark, matte color for your projection surface, and consider using specialized projector paint. Adjust your projector's brightness settings according to the room's lighting conditions.
Q3. How important is the choice of input ports and cables for projector performance?
The right input ports and cables are crucial for optimal performance. HDMI is the primary choice for high-quality digital video and audio. Use appropriate adapters if needed, and ensure your cables match both your source device and projector's capabilities for the best viewing experience.
Q4. Can firmware updates really improve my projector's performance?
Yes, regular firmware updates can significantly enhance your projector's performance. They often introduce new features, fix bugs, and improve compatibility with various devices. Establish a consistent update schedule, but remember to back up your current settings before updating.
Q5. How does keystone correction affect image quality, and how should I use it?
While keystone correction helps achieve rectangular images, excessive use can impact overall clarity. Use it sparingly and prioritize physical positioning of your projector. Apply vertical adjustments for top/bottom distortion, horizontal correction for side-to-side alignment, and rotational correction only when dealing with corner misalignment.

Be the First to Know
Subscribe for special deals, news, and important product information, and get your exclusive $50 discount.
Related Articles
How to Reset Chromecast: The Ultimate Troubleshooting Guide
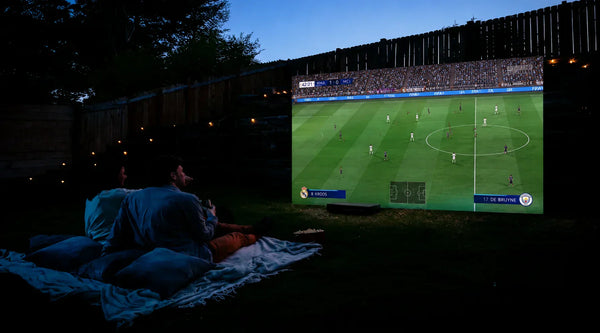
The Summer of Soccer Is Here — Is Your Backyard Ready?
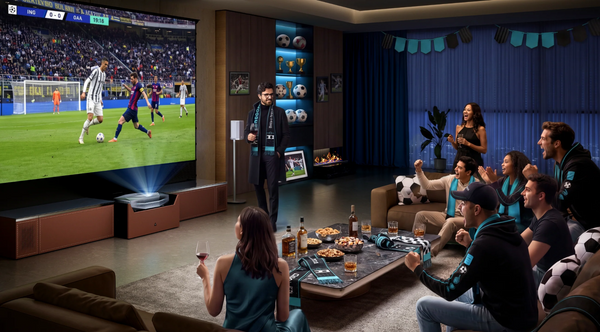
The Ultimate Guide to World Soccer Match 2026
Projector Shelf: How to Choose, Install, and Get the Best Picture
Projector Discoloration: Causes, Symptoms, and Fixes