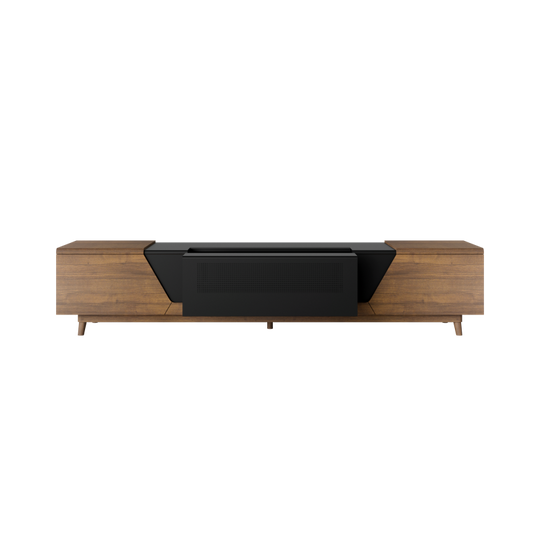
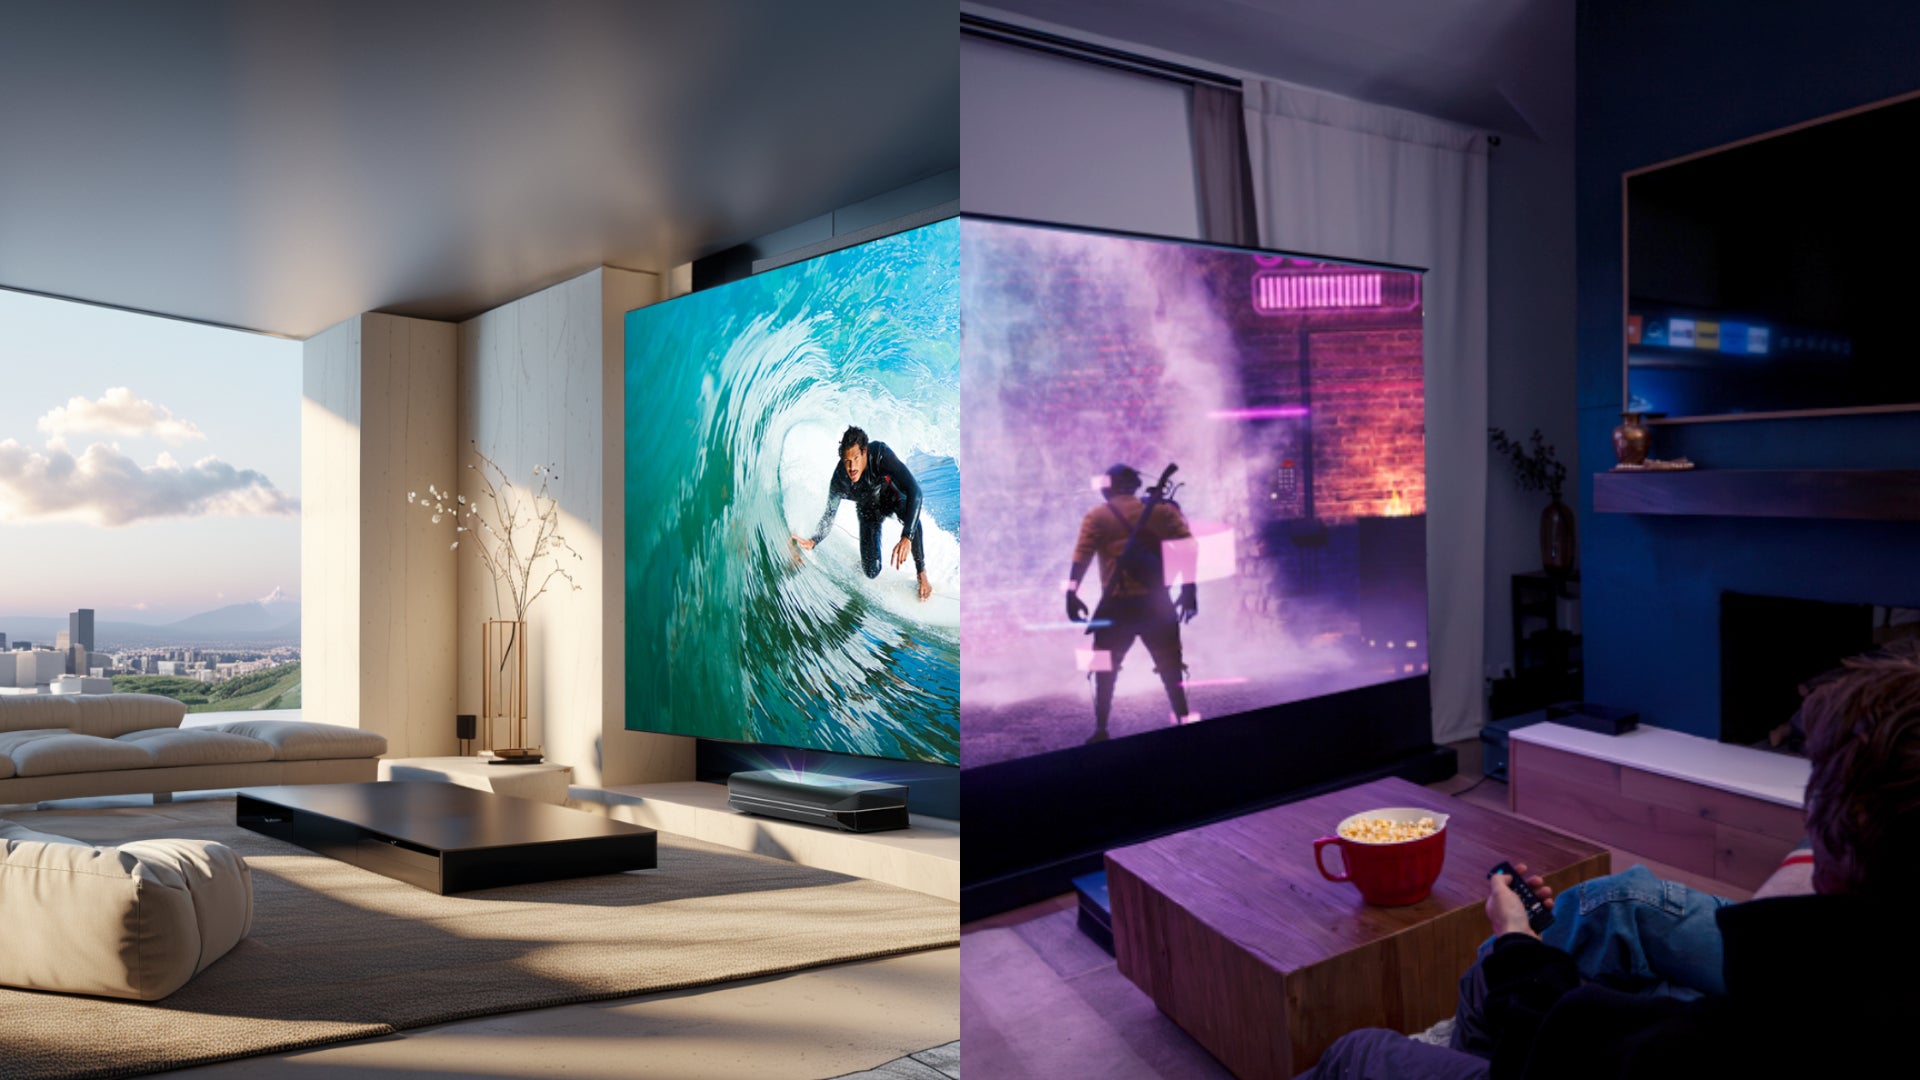
Long gone are the days of going out to seek entertainment. The concept of at-home entertainment is on the rise, with karaoke emerging as a fun and interactive way to enjoy music with your loved ones. You don’t have to be a professional to sing your preferred melodies. If you ever thought about how to do karaoke at home, this blog will help you get started singing your dearest tunes from the depths of your heart.
It's about choosing a karaoke setup, using appropriate surround sound, using a UST projector, and creating the ideal atmosphere in which it all happens.
Decide on a Karaoke Setup and Equipment
First things first, you need to arrange a proper karaoke setup and equipment. Here are a few options.
- Dedicated Karaoke Machine: A standalone karaoke machine usually has built-in speakers and microphone inputs and may sometimes include a screen. Thus, these machines are mostly plug-and-play to cater to family use.
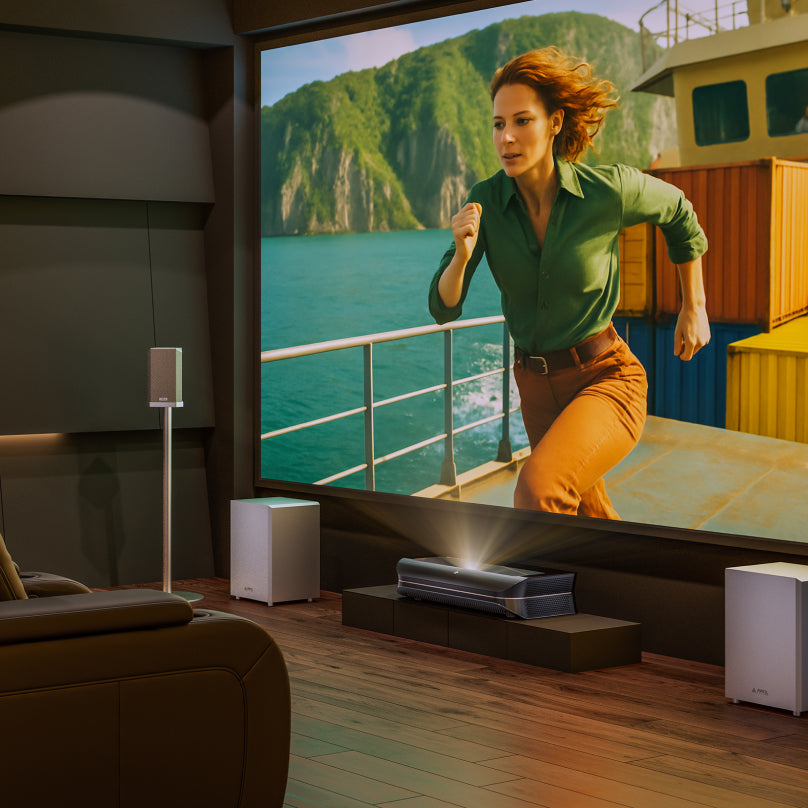
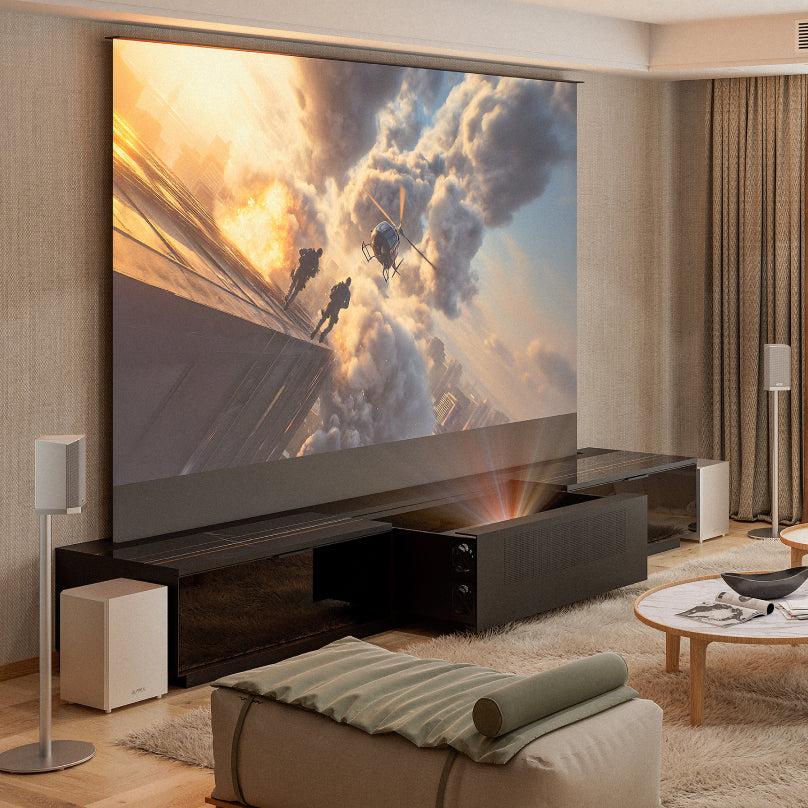
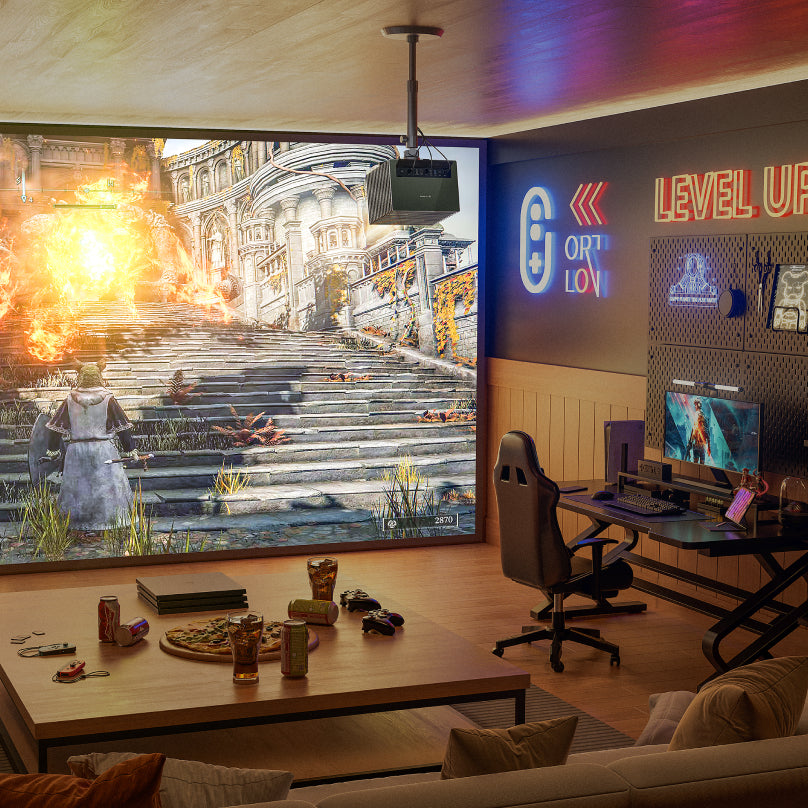
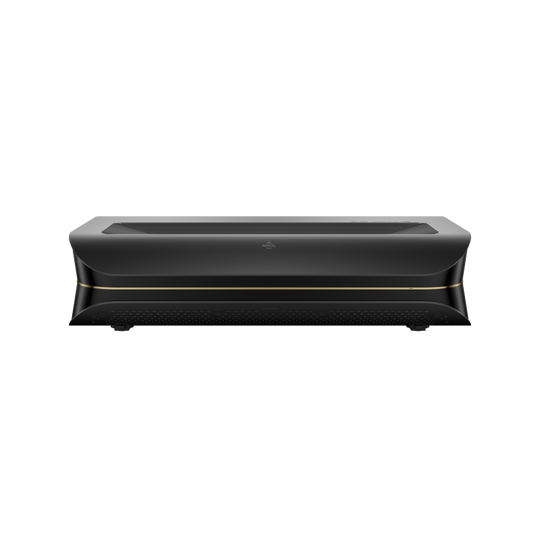
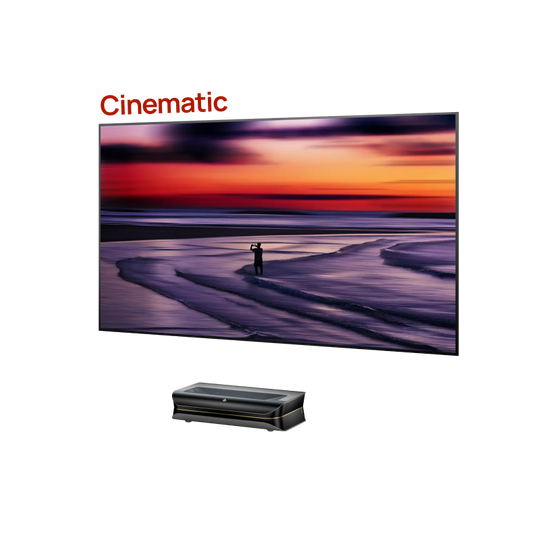
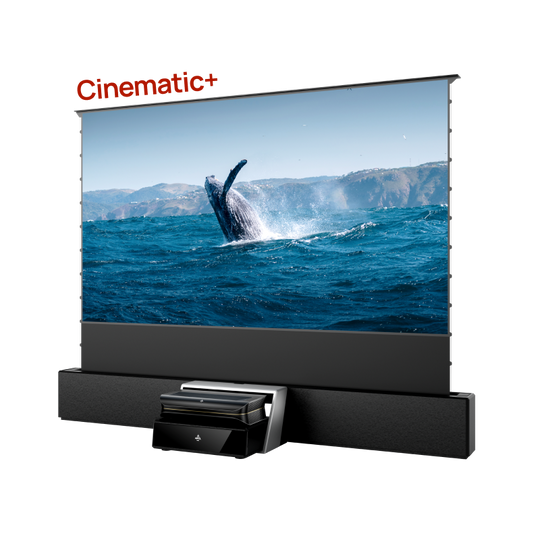
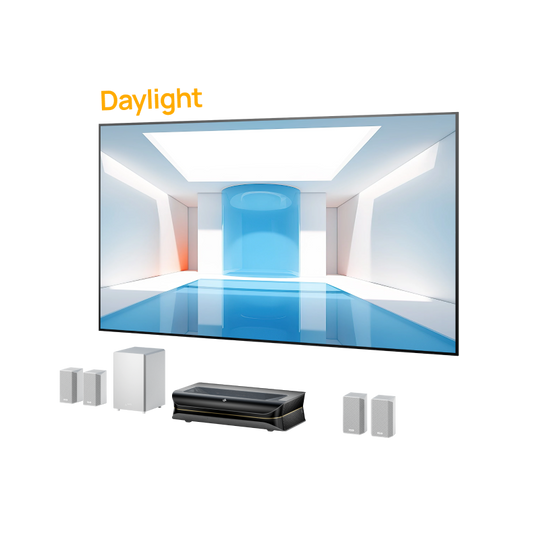
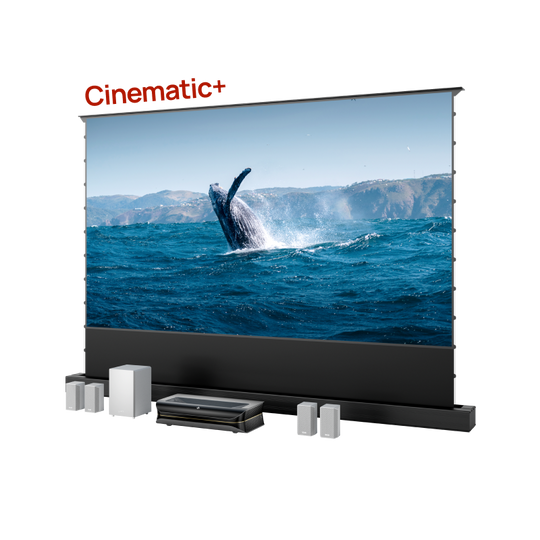
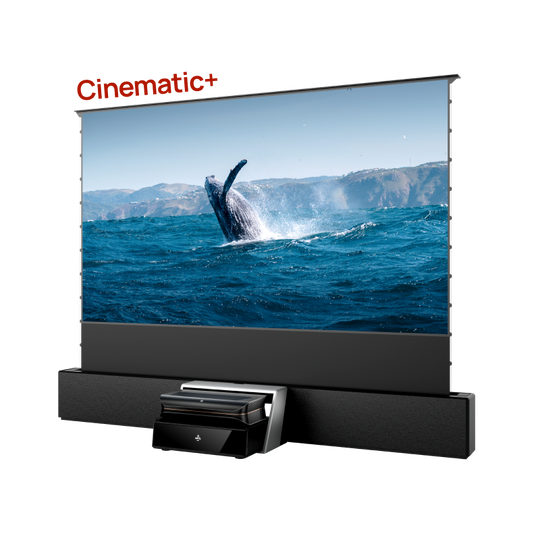
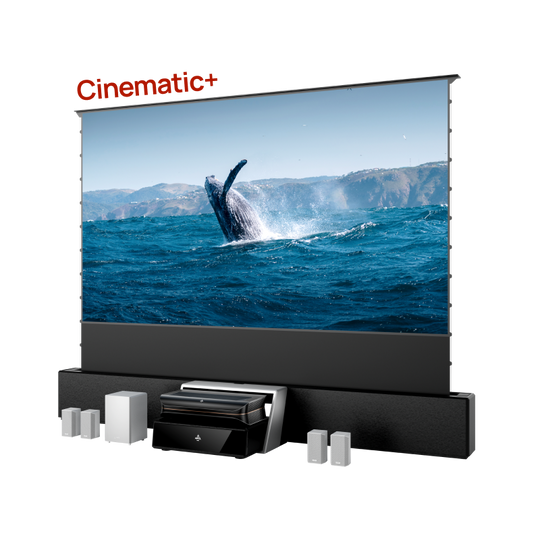
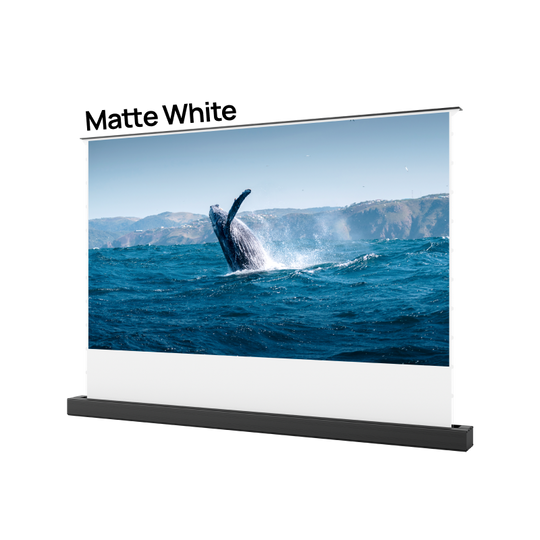
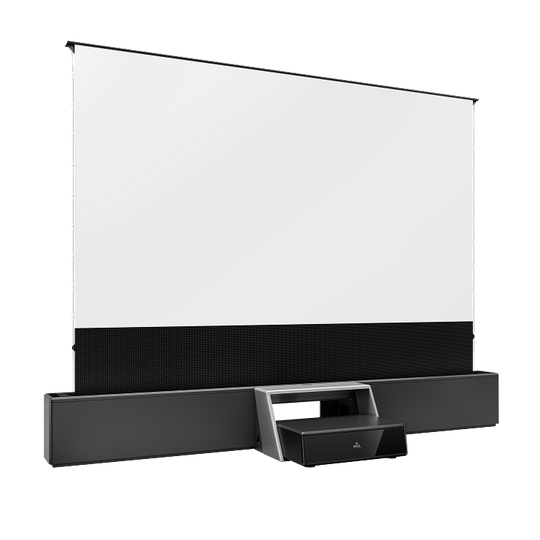
- Computer or Smart TV with Karaoke Software/App: Use apps such as Smule, KaraFun, or YouTube karaoke videos. Pair this with a display like a smart TV or a computer for easy lyric reading. For an improved experience, consider using a UST (Ultra-Short Throw) Projector. These projectors provide large, crisp visuals that make reading lyrics much easier and more engaging.
- Speakers or Soundbar: Good-quality speakers significantly enhance your karaoke experience. If you already have a home theater system, route your karaoke audio through those speakers for immersive sound. Brands like the AWOL Vision ThunderBeat are excellent for powerful and clear audio.
- Microphones: Choose between wired or wireless microphones. USB microphones are the easiest to set up with computers, while audio mixers or interfaces may be required for professional setups. Wireless mics offer mobility and reduce cable clutter.
Step-by-Step Guide: How to Do Karaoke at Home
Are you ready to belt your heart out? Well, here is the step-by-step guide to doing the best karaoke at home.
Step 1: Decide on the Setup
The right karaoke setup for home is very important for having a good time. Start determining what you need and what your budget is. Do you want a standalone karaoke system with everything included in one box? Or do you prefer to use karaoke software or apps through your smart TV or computer to have a more flexible setup? For instance, if you want to make your karaoke experience visually appealing, you might want to get a UST that makes it easier to read the lyrics as a cinematic feel to your karaoke. Take a long time to compare the features of all the options to select the best one for your needs.
Step 2: Position Your Equipment
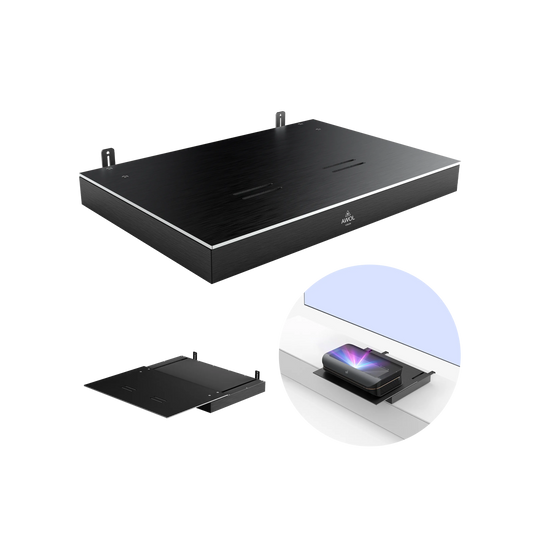
Once you have your setup, positioning your equipment properly is the next step. Begin by placing your microphone and speakers and displaying them in a way that maximizes sound and visual quality. When you use a UST projector, keep it as close to the screen or wall as possible for clear projection of lyrics. Connect your audio system or Bluetooth speaker to your phone, karaoke machine, or computer. Ensure the cables are properly plugged in and routed for wired systems to avoid tripping hazards. This careful arrangement will create an optimal environment for your karaoke night.
Step 3: Test and Tweak
Testing your equipment before the big performance is essential. Start by turning on all devices, including the singing machine, and running a trial song. Adjust microphone levels to avoid feedback and ensure the lyrics are displayed clearly on the screen. If you hear an imbalance in the sound, play with your mixer's settings until the sound is just right. The early test of everything saves time and ensures that things will go according to plan when it’s time to sing.
Step 4: Enjoy Karaoke
Now, here comes the Japanese-style fun - complete the party with karaoke! Set up a list of all-time favorites, ranging from chart-busters to those known only to you. Get everyone in on the fun, grab the mic, and go to town. From crooning ballads to dancing to funky pop tunes, karaoke is all about good times and memories.
Troubleshooting Common Issues
- Audio Feedback or Echoes: Move microphones away from speakers or reduce the microphone gain on your audio mixer.
- Projector Image Quality: Adjust the focus or lens position on the UST projector. To achieve a sharper display, minimize ambient light in the room.
- Lag/Latency: If streaming, check your internet connection. Use wired connections for both audio and video whenever possible to reduce lag.
Conclusion
Karaoke at home is undoubtedly a beautiful experience. Such a good installation with a UST projector will provide crisp and clear visuals; you can have a wonderful sound system and a good ambiance, and any night will be unforgettable.
Now that you know how to do karaoke at home put together your playlist, invite some friends over, and practice your favorite songs ahead of time. Have you tried karaoke at home? Share your experiences in the comments below!
Feel free to ask for expert advice when selecting the perfect UST projector or sound system.
