


Complete MacBook Pro Dual Monitor Setup Guide
From Simple Configurations to Advanced 4K Projector Workstations – Everything You Need for M1, M2, M3 & M4 Macs.
Your MacBook Pro is incredible. It's fast, beautiful, and handles everything you throw at it. But when your work starts getting more demanding, that single display begins to feel cramped rather than capable. You realize a dual-monitor configuration is exactly what you need, but navigating the maze of adapters, compatibility quirks, and unexpected restrictions can be overwhelming.
Imagine if you could bypass all that hassle and create a workspace that's not just larger, but genuinely better in every aspect?
This comprehensive guide covers everything step-by-step. We'll tackle the most frequent challenges (particularly for those with M1, M2, and M3 processors) and demonstrate how to create a dependable, conventional dual-display arrangement. Beyond that, we'll explore an innovative approach to workspace design—one that's more expansive, cleaner, and more engaging than you might have imagined.
Start Here: Your MacBook Pro's Capabilities
Before purchasing any cables, spend 5 seconds on this crucial check that will prevent hours of frustration later. You must identify which processor runs your MacBook Pro, since this directly affects how many external displays it can handle natively.
How to Check: Click the Apple logo (🍎) at the top-left of your screen, then choose "About This Mac." Your processor will be clearly displayed (for example, "Chip: Apple M3 Pro").
Here's a straightforward breakdown of what each chip can do:
|
Processor |
Native External Display Capability |
|
Apple M1, M2, M3 |
One external display |
|
Apple M3 (Clamshell Mode) |
Two external displays (laptop lid must be closed) |
|
Apple M1 Pro, M2 Pro, M3 Pro |
Two external displays |
|
Apple M1 Max, M2 Max, M3 Max |
Up to Four external displays |
|
Apple M4 (and upcoming Pro/Max) |
Two or more external displays |
You'll notice that Apple's latest M4 processors are making dual-display capability standard across all models, establishing a more user-friendly baseline for what's ahead. However, if your Mac only supports one display natively, there's no need to worry—we'll cover a straightforward and reliable workaround in the following section.
Part 1: Standard Dual-Monitor Configuration
This represents the time-tested, reliable method for expanding your digital workspace. Here's the proper way to set it up.
Essential Hardware: Your Shopping List
For M-Series Pro/Max or M4 owners: Your setup is relatively simple. You'll just need quality HDMI or USB-C/Thunderbolt cables that correspond to your monitor's input ports.
For standard M1, M2, or M3 owners: This section is particularly crucial for you. To connect multiple external monitors, a regular USB-C hub won't cut it—you'll only get the same image mirrored across both displays. What you actually need is a DisplayLink Certified Dock or Adapter.
What exactly is DisplayLink? Simply put, DisplayLink is an innovative technology that combines software with specialized hardware to work around a computer's built-in display restrictions. A dock equipped with DisplayLink technology is your key to achieving a genuine extended dual-monitor setup on a base M-series MacBook.
Connection Process: Step by Step
-
Install Required Software (When Applicable): For DisplayLink dock users, begin by downloading and installing the most recent DisplayLink Manager software from Synaptics' official website.
-
Connect Your Hardware: Plug your external displays into your dock or adapter, then connect the dock to a Thunderbolt port on your MacBook Pro.
-
Access System Settings: Go to the Apple menu (🍎) > System Settings > Displays. All connected displays should appear as individual icons.
-
Configure Your Layout: Click "Arrange..." and drag the display icons to mirror their actual physical positions on your desk. This ensures seamless mouse movement between screens.
-
Enable Extension Mode: Confirm that "Mirror Displays" is unchecked. This setting allows different content on each screen.
-
Choose Your Main Display: One display will show a white bar at the top—this becomes your primary screen for notifications and the dock. You can move this white bar to any display to designate it as the main one.
Part 2: Next-Level Upgrade - A Contemporary Workspace
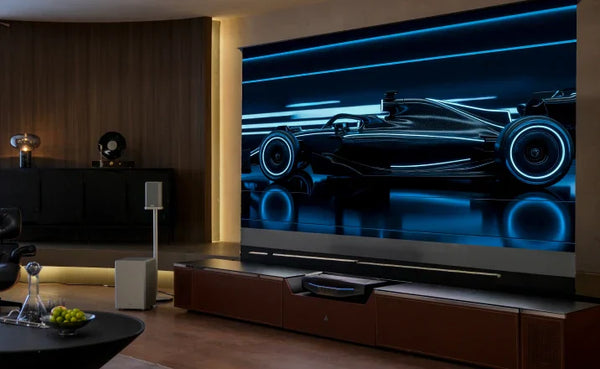
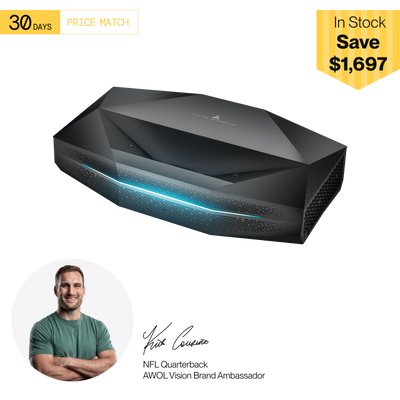
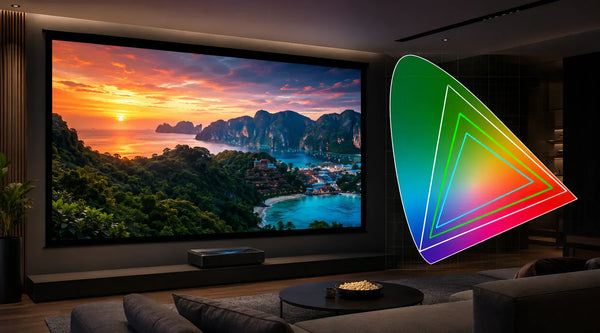
You've got the dual-monitor setup figured out. But here in 2025, what if your workspace could be more expansive, cleaner, and genuinely inspiring? An Ultra Short Throw (UST) projector isn't limited to home entertainment; for many professionals, it's becoming the ultimate display solution.
The idea is straightforward: rather than adding another 27-inch screen to your desk, your secondary display becomes a sharp, vibrant 120-inch image projected onto your wall.
This setup provides several compelling benefits:
-
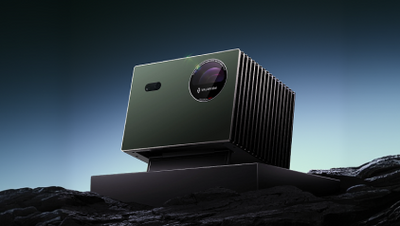
An Enormous, Seamless Canvas: Picture having a video editing timeline, a full-scale design mockup, and your communication tools all visible simultaneously without any compromises. For data-intensive or creative projects, this scale transforms everything.
-
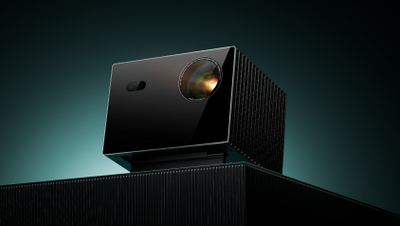
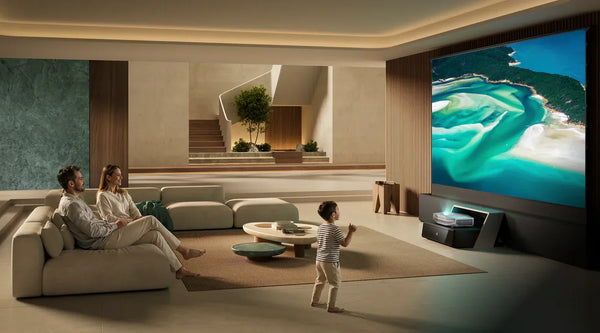
Clean, Minimal Design: A UST projector sits quietly on a shelf or stand just a few inches from the wall. This eliminates the visual clutter of monitor stands, mounting arms, and cable management, resulting in the cleanest possible workspace.
-
Better Eye Health: Prolonged exposure to direct LED/LCD screens can cause eye strain. Projected light that reflects off surfaces is typically perceived as gentler and more comfortable during extended work periods, much like reading from paper.
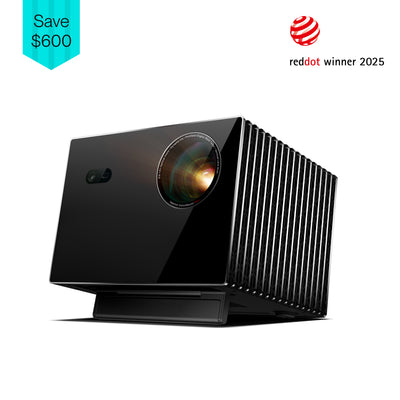
Setup is refreshingly simple. Your MacBook Pro treats a modern 4K projector exactly like any other display. A single, high-quality HDMI cable running from your MacBook or dock to the projector is all you need to add this massive, cinema-quality display to your workflow. Within Display Settings, you simply position it like any other monitor.
Advanced Troubleshooting: Fixing Common Problems
Even with the right equipment, you might encounter some obstacles. Here are the most typical issues and their solutions.
-
Issue: "My second display isn't being recognized!"
Fix: Verify that all cables are securely connected at both ends. For dock users, make sure the power adapter is plugged in. In System Settings > Displays, hold the Option key to reveal a "Detect Displays" button, then click it to force your Mac to search for connected screens again. -
Issue: "Both external displays are showing identical content!"
Fix: This typically indicates you're using a basic USB-C hub rather than a DisplayLink-capable dock on a standard M-series Mac. If you have the proper dock, verify that "Mirror Displays" is disabled in your Display Settings. -
Issue: "My display is flickering or appears blurry."
Fix: This usually stems from cable or configuration problems. First, swap in a different, better-quality cable. Next, go to System Settings > Displays, select the problematic display, and check the "Refresh Rate" setting. Choosing a fixed rate (like 60Hz) instead of a variable one often resolves connection instability. -
Issue: "On my M3 MacBook Pro, the second screen only functions when I close the lid."
Fix: This behavior is specific to the standard M3 processor. To use two external displays, your MacBook must operate in "clamshell mode" with the lid closed. You'll need external power, a keyboard, and a mouse to work this way.
Your Workspace, Redefined
A dual-monitor configuration is a proven method for boosting productivity. Whether you opt for a reliable traditional setup or venture into a larger, more immersive workspace, you now have everything needed to execute it properly. By understanding your Mac's limitations and knowing how to overcome common obstacles, you can create a powerful, comfortable, and motivating environment for your most important work.

Be the First to Know
Subscribe for special deals, news, and important product information, and get your exclusive $50 discount.
Related Articles
What Is Color Gamut? A Simple Guide to Display Color
10 Creative Ways of Using a Projector
What Is Laser Speckle in Projectors & How to Eliminate It

What is a Smart Projector? (And Can It Replace Your TV?)
How to Use a Projector: A Beginner's Guide to Your First Setup