


Guide to Connecting a Soundbar to Your 4K Projector
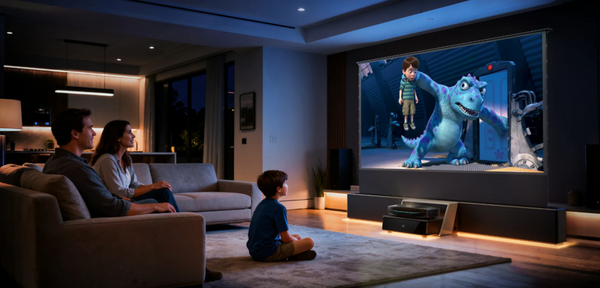
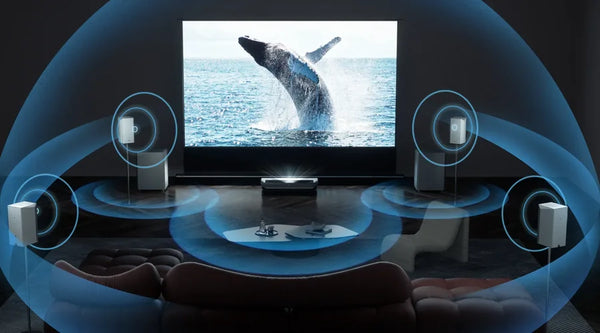
A 4K laser projector delivers a breathtaking visual canvas. To achieve true home cinema immersion, that epic picture requires an equally epic soundscape. This is where a high-performance soundbar becomes essential.
However, connecting a soundbar to a projector isn't always straightforward. The root of the confusion stems from a key difference: a TV is designed as a media hub, while a projector is a specialized display. Understanding this is the key to a perfect setup.
This guide provides a clear path from confusion to audio-visual harmony. We'll start with the single most important principle of home theater audio, then walk through a clear hierarchy of connection methods, and finally, provide a robust manual to solve any issue you might encounter.
Golden Rule of Home Theater Audio: Master Your Signal Flow
Nearly every connection problem comes from a misunderstanding of how audio and video signals should travel between your devices. To achieve the best performance, you must follow one foundational principle.

Correct Architecture (The Golden Rule)
For the highest quality and most reliable performance, your signal path should be:
Source Device → Soundbar → Projector
The logic is simple and effective:
- Your Source Device (e.g., Apple TV 4K, Blu-ray player, gaming console) sends the complete audio and video signal to the soundbar via HDMI.
- Your Soundbar, the audio expert, decodes the highest quality audio for its speakers. This ensures it's working with the original, uncompressed audio stream.
- The Soundbar then passes the pure video signal on to the Projector.
This method guarantees your soundbar receives the original audio data, which is essential for advanced formats like Dolby Atmos and DTS:X.
Common Mistake (And Why It Happens)
The most common mistake is connecting your source to the projector first (Source -> Projector -> Soundbar) and then trying to get the audio out of the projector.
This confusion is understandable. The rise of "smart" projectors with built-in apps leads people to treat them like TVs. While many projectors struggle to act as a media hub, premium models are closing the gap. For example, a projector like the AWOL Vision LTV-3500 Pro is designed with this in mind, but the general principle of letting the audio device handle the audio remains a solid foundation for any setup.
Connection Methods
Choosing how to connect your devices is a technical decision that directly impacts audio quality. Here is the ranked guide to connection methods, from best to last resort.
1. The Ideal Method: HDMI Pass-Through (The Golden Rule in Action)
This is the definitive best practice if your soundbar has at least one HDMI IN and one HDMI OUT port. It delivers a pure, lossless audio signal to the soundbar for reference-quality sound.
Steps:
- Connect an HDMI cable from the HDMI OUT port of your source device to an HDMI IN port on your soundbar.
- Connect a second HDMI cable from the HDMI OUT port on your soundbar to an HDMI IN port on your projector.
- Using your soundbar's remote, select the corresponding HDMI input (e.g., "HDMI 1") as the active source.
2. The Modern Exception: HDMI ARC / eARC
Use this method when using your smart projector's internal apps or when connecting multiple sources directly to the projector. Audio Return Channel (ARC) allows the projector to send audio "downstream" to the soundbar over the same HDMI cable.
Deep Dive: ARC vs. eARC
- ARC (Audio Return Channel): Has enough bandwidth for compressed 5.1 surround sound and the compressed Dolby Atmos used by most streaming services.
- eARC (Enhanced Audio Return Channel): Features massively higher bandwidth. It is required to transmit uncompressed, lossless audio like Dolby TrueHD (found on 4K Blu-rays) and the highest-quality Dolby Atmos tracks. A laser projector like the AWOL Vision LTV-3500 Pro includes an eARC port specifically to ensure it can output these high-fidelity audio formats to a compatible soundbar or receiver without compromise.
Steps:
- Connect an HDMI cable from the port labeled HDMI ARC or eARC on your projector to the corresponding HDMI ARC/eARC port on your soundbar.
- In the settings menu of both your projector and your soundbar, find and enable HDMI-CEC. This feature has different brand names (Anynet+, SimpLink, Bravia Sync, etc.), but it is required for ARC to function.
- In your projector's audio menu, select "HDMI ARC" as the output.
3. The Reliable Digital Fallback: Optical (TOSLINK)
This is a great option if your projector has an optical output but lacks HDMI ARC. It provides a high-quality digital signal that is immune to electrical interference.
However, be aware of its key limitation: an optical connection supports compressed 5.1 surround sound but cannot pass high-resolution lossless formats like Dolby TrueHD or any version of Dolby Atmos.
4. The Wireless Convenience Trap: Bluetooth
While a simple, cable-free setup is tempting, Bluetooth has a critical flaw for home cinema use: audio latency. The process of wirelessly transmitting audio introduces a small but noticeable delay, resulting in the distracting "lip-sync" problem where you see an actor speak before you hear their words.
For the most immersive movie-watching, a wired connection is always superior. Reserve Bluetooth for casual music listening.
5. The Last Resort: Analog (3.5mm AUX / RCA)
These basic connections should only be used when no digital options are available. It is critical to know that these connections are stereo only. They cannot transmit any form of surround sound, sacrificing the immersive experience.
The Essential HDMI Audio Extractor
What do you do when your devices have mismatched ports? The single most valuable tool for solving this is the HDMI Audio Extractor.
This small device sits between your source and your projector. It intelligently splits the audio off to your soundbar (via its own Optical or other audio ports) while letting the full 4K video signal pass through untouched to the projector.
What to Look For When Buying:
- Required Audio Outputs: Make sure it has the port your soundbar needs (e.g., Optical).
- 4K HDR Pass-Through: This is non-negotiable. The extractor must support 4K@60Hz and HDR (including Dolby Vision) to avoid downgrading your video quality.
Troubleshooting Manual
Problem: No Sound at All
Work through this checklist before assuming a device is faulty.
- Check the Input: Is the soundbar set to the correct source (HDMI 1, Optical, etc.)? This is the #1 cause.
- Check the Volume: Is the soundbar, source device, or projector muted?
- Check Audio Output Settings: In your projector/source settings, is the audio set to "External Speaker" or "HDMI ARC" (and not "Internal Speakers")?
- Check Cables: Are they fully seated? Try a different cable to rule out a faulty one.
- Perform a Power Cycle: Unplug the projector, soundbar, and source from power for 60 seconds. This simple reboot often clears communication glitches.
Problem: Audio is Delayed (Lip-Sync Error)
This happens because a projector's complex video processing can sometimes take longer than audio processing.
The Solution: Look for an "A/V Sync" or "Audio Delay" setting in the audio menu of your projector, soundbar, or source device. While playing a movie, adjust this setting in small millisecond (ms) increments until the sound and picture are perfectly aligned.
Problem: "Unsupported Audio Format" Error
This means your source is sending an audio format (codec) your soundbar can't decode.
The Quick Fix: Go into your source device's audio settings and change the output format to PCM. This sends a universal stereo signal that will work on any device, but you will lose surround sound.
The Better Fix: Instead of PCM, go back to the audio settings and try selecting a different surround format. If it was set to "DTS," for example, try changing it to "Dolby Digital" to see if your soundbar accepts that signal.
Specialized Issue: HDMI ARC/eARC Is Not Working
ARC can be temperamental. If it's giving you trouble, follow this rigorous flow:
- Verify ARC Ports: Confirm you are using the specific ports labeled "ARC" or "eARC" on both devices.
- Enable HDMI-CEC: Confirm this is turned ON in both the projector and soundbar settings menus.
- Perform a Full HDMI Refresh: Power off all devices. Unplug both the power cords and the HDMI cable for 60 seconds. Plug everything back in and power on.
- Check for Firmware Updates: Use the system settings for your projector and soundbar to check for and install any available software updates.
- Try a Different Cable: A faulty or old cable can cause the ARC handshake to fail. Swap it for a certified High-Speed (or Ultra High-Speed for eARC) HDMI cable.
- The Final Alternative: If ARC still refuses to work, there may be a fundamental incompatibility. Concede and switch to a reliable Optical connection or use an HDMI Audio Extractor.

Be the First to Know
Subscribe for special deals, news, and important product information, and get your exclusive $50 discount.
Related Articles
Dolby Audio Explained: What It Means for Your Home Theater
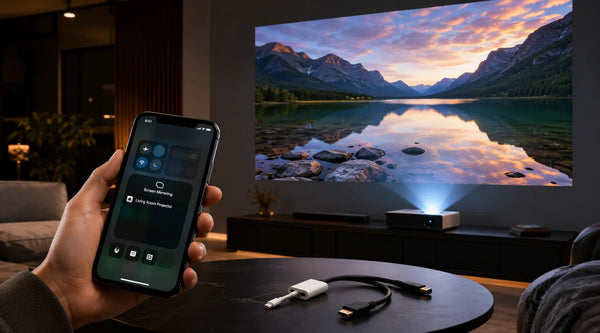
How to Connect an iPhone to a Projector: A Step-by-Step Guide (Wireless & Wired)
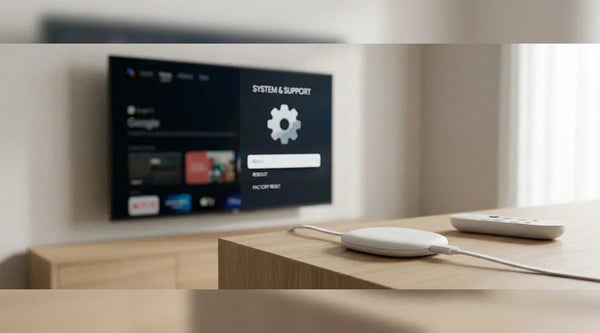
How to Reset Chromecast: The Ultimate Troubleshooting Guide
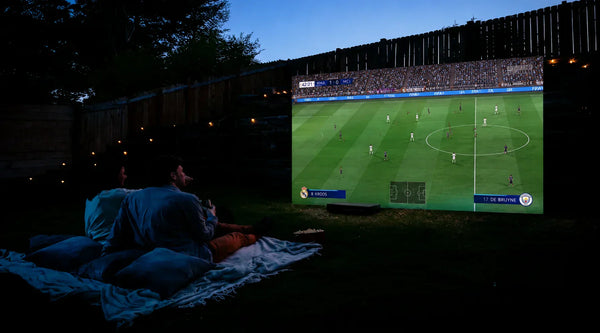
The Summer of Soccer Is Here — Is Your Backyard Ready?

The Ultimate Guide to World Soccer Match 2026