


How to Create the Ultimate Roku Projector Setup
You're looking for the simple, beloved Roku experience on a truly massive, cinematic screen. But what’s the best way to actually achieve that in 2025?
This guide isn't a review of basic all-in-one devices. It's a blueprint for building a no-compromise Roku projection system that delivers a true 4K home cinema experience. To do it right, you need two core components: a high-performance projector foundation and the right Roku "brain" to power it.
First, Start with a Flawless Foundation - The Projector
Before you think about any app or interface, you have to start with the image itself. The projector's only job is to create a perfect picture, and this is where you should focus your investment. There are a few non-negotiable pillars of picture quality.
Gold Standard Features for a Modern Cinema
When you're building a real home theater, these are the technologies that matter:
- Light Source: A TriChroma Laser system is the benchmark for modern projectors. Unlike older lamp-based projectors, it delivers incredible brightness for viewing in rooms that aren't completely dark, all while producing stunningly accurate and vibrant colors.
- HDR Support: Your projector must support Dolby Vision and HDR10+. This technology reads special data in a movie or show to display incredible levels of contrast, with bright highlights and deep, detailed shadows in the same scene.
- Audio Capability: Look for an eARC (Enhanced Audio Return Channel) port. This is essential for sending high-fidelity sound, like Dolby Atmos, to a dedicated soundbar or AV receiver without losing quality.
Then, Choose the Right "Brain" - Your Roku Device
With a powerful projector as your foundation, you need a streaming device that can keep up. Not all Roku models are created equal.
Why a Premium Roku Player is Essential for 4K Projection
A basic, entry-level Roku stick simply can't output the quality that a true 4K projector demands. To get the best performance, you should opt for Roku's premium 4K streaming player. Look for a model that specifically supports 4K resolution and Dolby Vision HDR. These top-tier devices also typically include a stable Ethernet port for buffer-free streaming and advanced remote features.
The Advantage of an Upgradeable "Brain"
Streaming technology moves fast. A new processor or Wi-Fi standard comes out every couple of years. By keeping your streamer separate from your Laser TV, you can upgrade the ~$100 Roku "brain" whenever you want, ensuring you always have the latest tech.
What Home Theater Enthusiasts Recommend
You don't have to take our word for it. This modular approach is the established consensus in expert home theater communities.
Spend a few minutes on enthusiast forums like Reddit's r/projectors, and you'll find discussions filled with users advising against projectors with built-in, "bottom barrel" smart systems. They are consistently skeptical due to slow performance, a lack of long-term software support, and major compromises in core projector quality like brightness and color. The overwhelming preference is to combine a top-tier external streaming device with a high-quality projector.
Integration: How to Connect Your Roku to a Projector
This is where the system comes together. A premium setup should look clean and be simple to use.
Step 1: The Physical Connection (A Professional, Cable-Free Look)
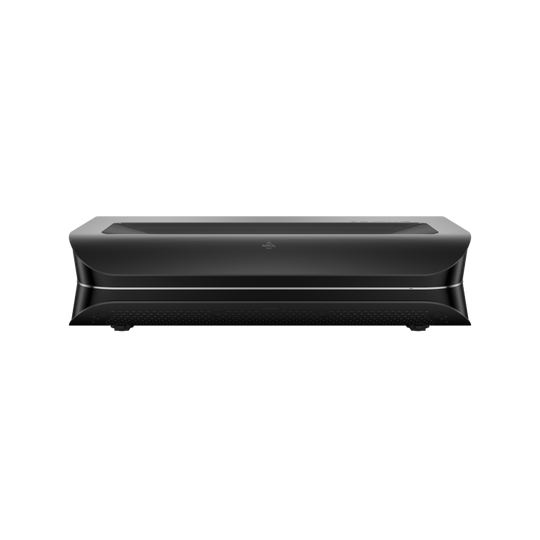
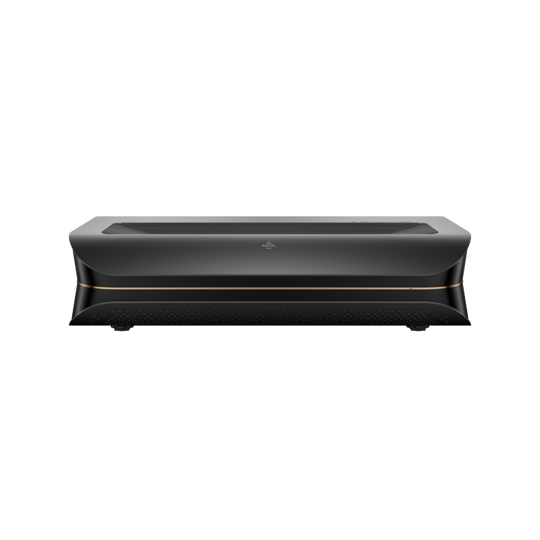
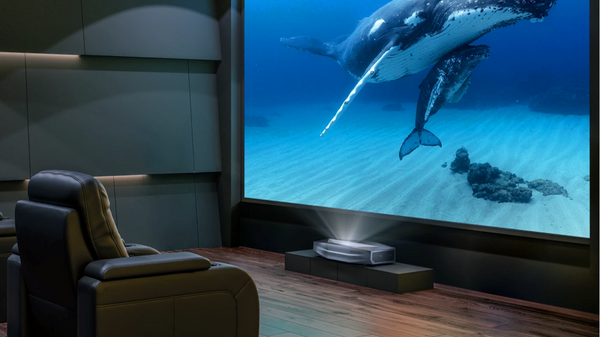
The last thing you want are streaming sticks and power cables dangling from your projector. This is where a projector designed for this exact purpose makes all the difference. The AWOL Vision LTV-3500 Pro, for example, features a hidden TV Stick Compartment for an elegant solution.

- Open the hidden rear compartment cover.
- Plug your premium Roku player directly into the internal HDMI 1 port.
- Power the Roku using the adjacent internal USB port, eliminating the need for an external AC adapter and another messy cable.
- Close the cover for a completely clean, professional installation.
Step 2: Configuring a Seamless Single-Remote Experience
A feature called HDMI-CEC (Consumer Electronics Control) is the key to simplifying your setup. Once enabled in your Roku and projector settings, it lets the devices talk to each other. This means the remote from your premium Roku player can automatically be used to control the projector's power and volume, giving you the simple, single-remote experience you're looking for.
Step 3: Setting Up Immersive Dolby Atmos Audio
To get the best sound, you'll want to send the audio from the Roku to a dedicated sound system. Using the eARC port is crucial. The signal path is simple: Your Roku player sends the Dolby Atmos audio signal to the LTV-3500 Pro, and the projector's eARC port passes that signal perfectly, with zero quality loss, to your Dolby Atmos-capable soundbar or receiver.
Conclusion: Your Roku Home Cinema, Built the Right Way
By following these steps—starting with a quality projector foundation, adding a powerful Roku "brain," and integrating them seamlessly—you've done more than just buy a gadget. You've intelligently designed a flexible, powerful, and future-proof home cinema system that will deliver an incredible experience for years to come.

Be the First to Know
Subscribe for special deals, news, and important product information, and get your exclusive $50 discount.
Related Articles

How Big is a 120-Inch Projector Screen? (Exact Dimensions & Room Guide)
Why Is My Streaming Video Quality So Bad? How to Fix Buffering and Blurry Movies

How to Use a Projector: A Beginner's Guide to Your First Setup

Roku vs. Firestick vs. Chromecast: Which Streaming Ecosystem Wins?

The Projector Halo Effect: Light Bleed, Overspill, and Focus Issues Explained
